Project Manager Walkthrough
The Project Manager (PM) is a specialized Nexora agent that takes a high-level objective, breaks it into a structured execution plan, spawns specialist sub-agents for each step, and tracks progress until the task is complete. It is the primary entry point for any multi-step work that would otherwise require manually coordinating several agents.
This page walks through a complete PM session from setup to completion.

What the Project Manager does
The PM agent acts as an orchestrator. When you give it an objective it:
- Plans — decomposes your objective into a numbered sequence of steps
- Delegates — spawns the right specialist sub-agent for each step (Developer, Persona Architect, Tester, etc.)
- Coordinates — passes context and results between sub-agents so later steps have what they need
- Tracks — marks each step complete as results arrive, updating the Execution plan panel in real time
- Reports — summarizes the outcome and surfaces created or modified files once all steps are done
The PM does not do the work itself — it reasons about how the work should be done and which agents are best suited for each piece.
The Project Manager agent works best when given a clear, scoped objective. Vague objectives produce vague plans. See the Tips section at the bottom of this page.
Prerequisites
Before starting a PM session, make sure:
- At least one LLM provider is configured in Settings → Accounts (Claude, OpenAI, Gemini, or Ollama). The PM and all sub-agents require a working model to execute.
- The agents you expect the PM to delegate to (Developer, Tester, etc.) exist in your organization. The PM can only spawn agents that are defined in your Agents library (
/agents).
See the Settings guide for provider configuration and the Agents guide for creating agents.
Starting a PM session
Open a new chat
Navigate to the chat workspace (/chat) or click the ”+ New Chat” button in the sidebar. The chat input area opens with a blank message field.
Open chat settings
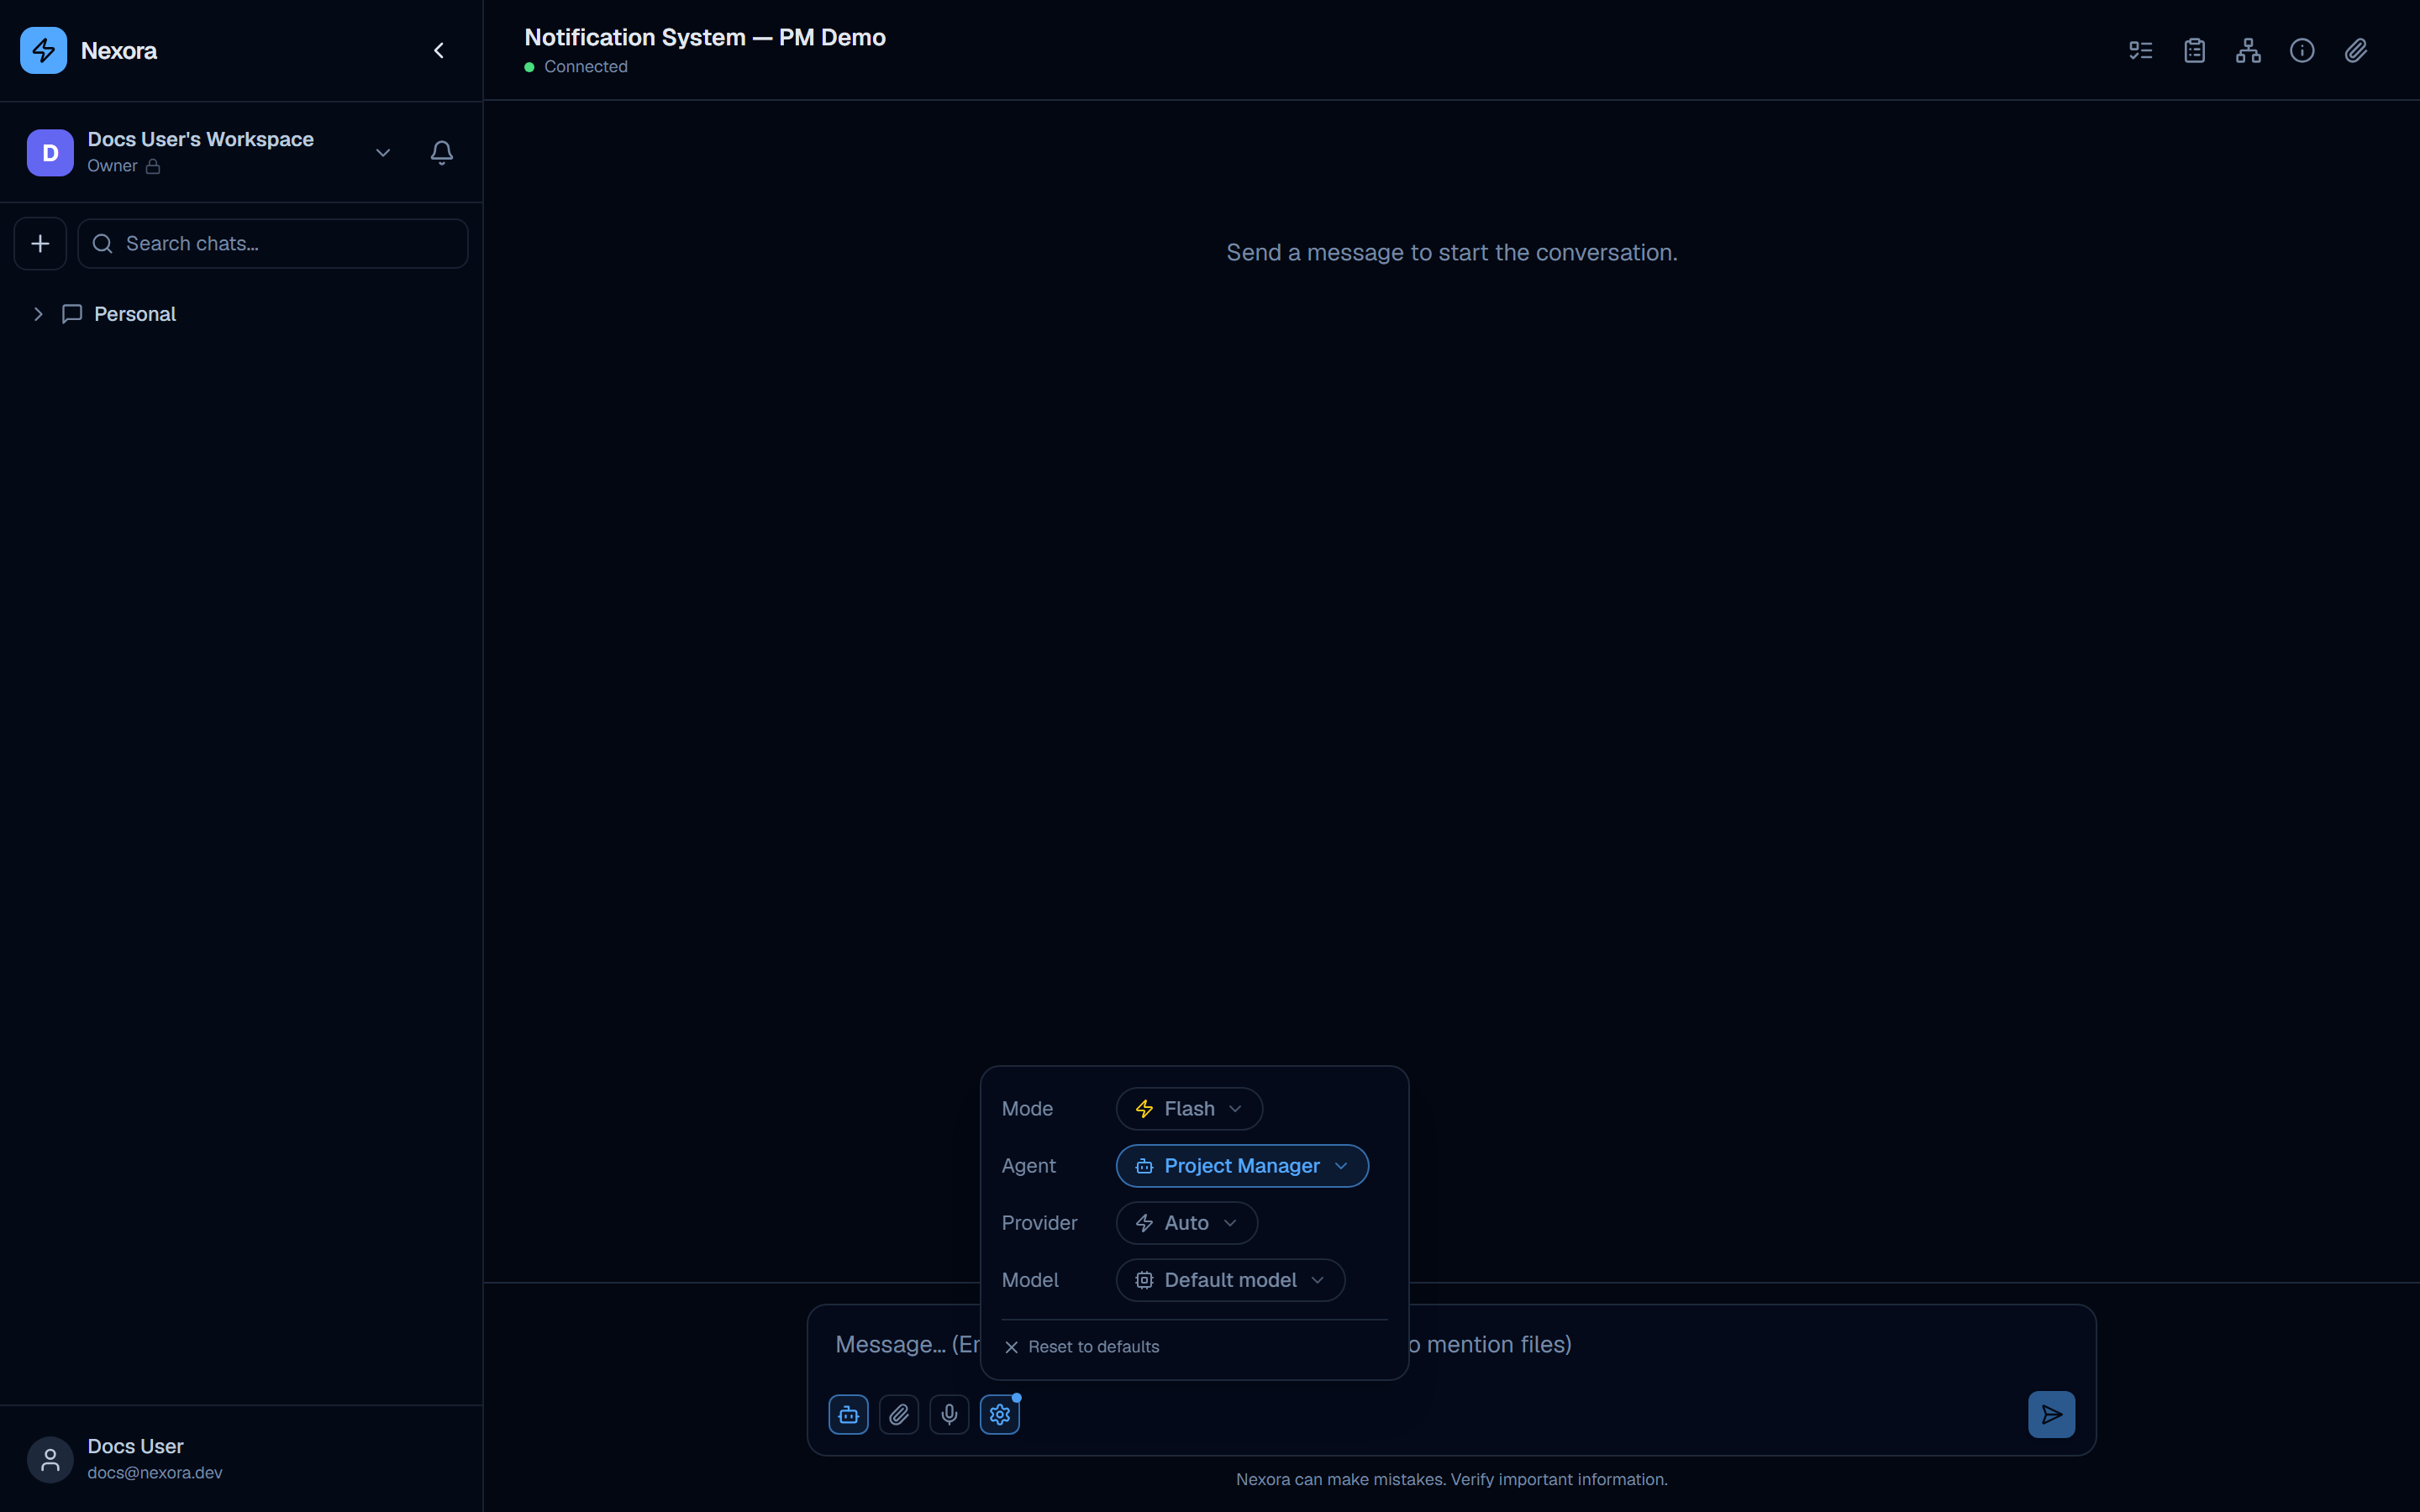
Click the gear icon in the bottom-right of the message input bar. The chat settings popup appears above the input, showing four controls: Mode, Agent, Provider, and Model.
Select the Project Manager agent
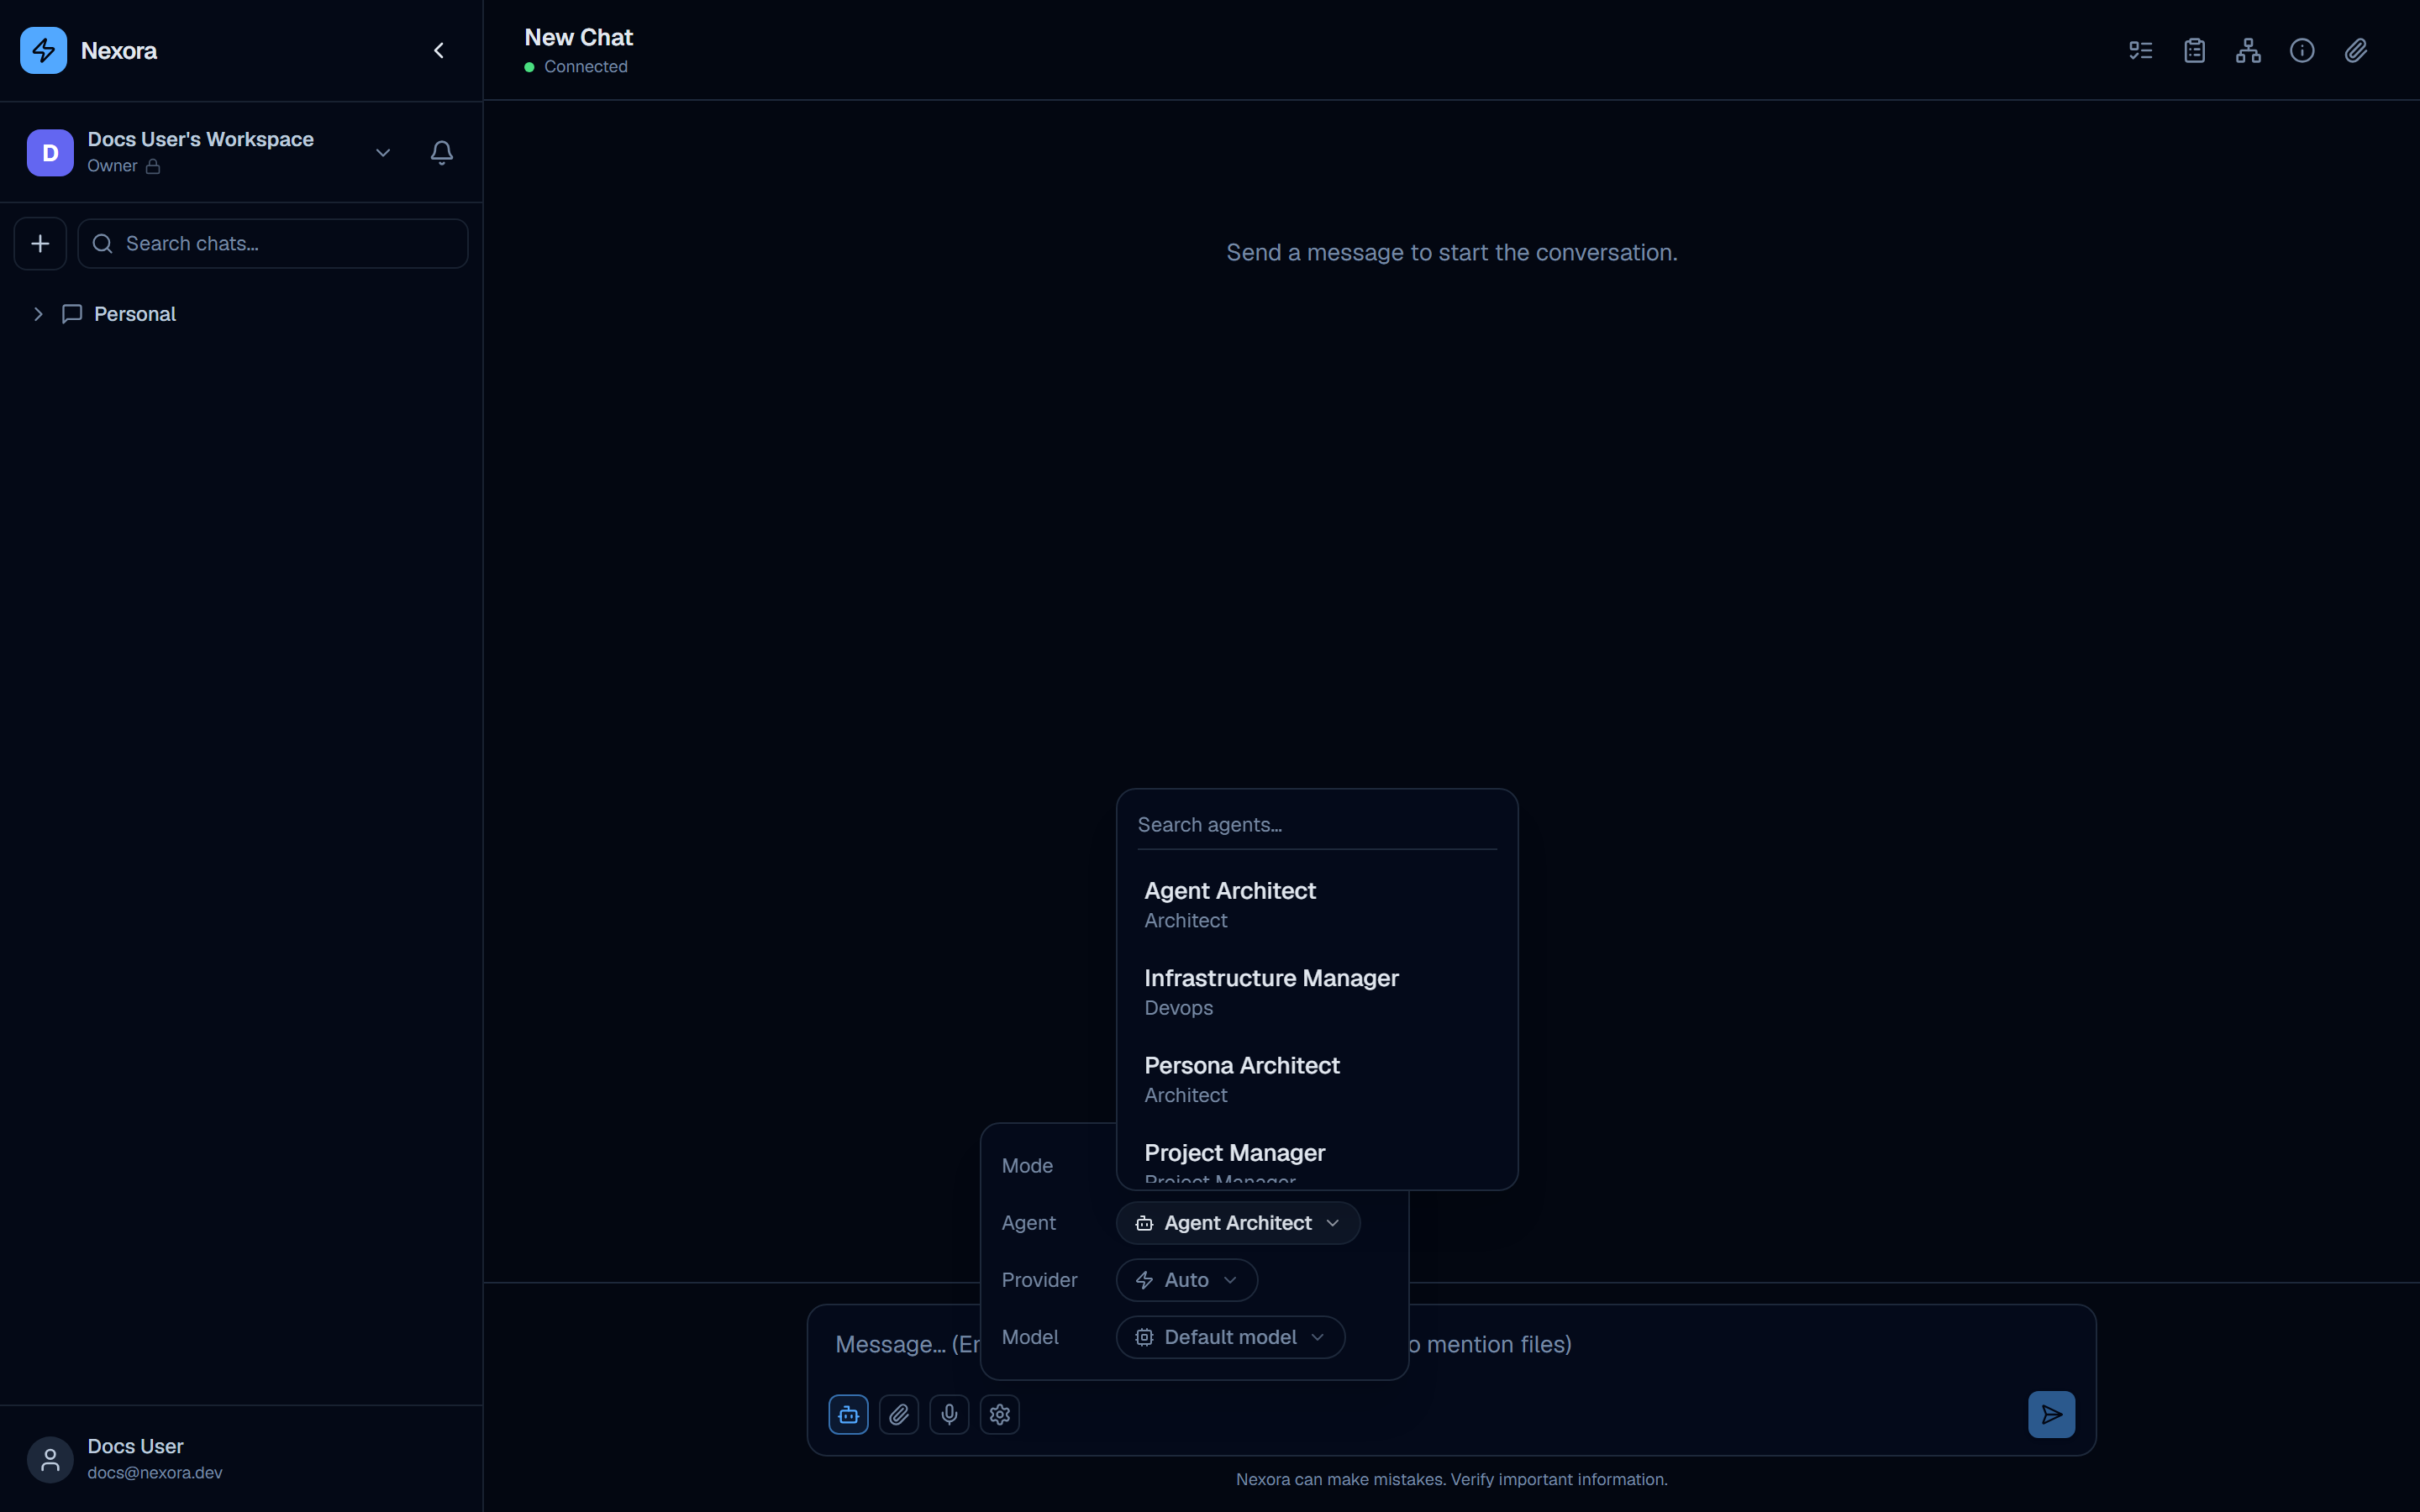
Click the Agent dropdown. A searchable list of all agents appears. Select Project Manager. The gear icon gains a blue dot to indicate a non-default setting is active. Close the popup with Escape or by clicking elsewhere.
Write your objective
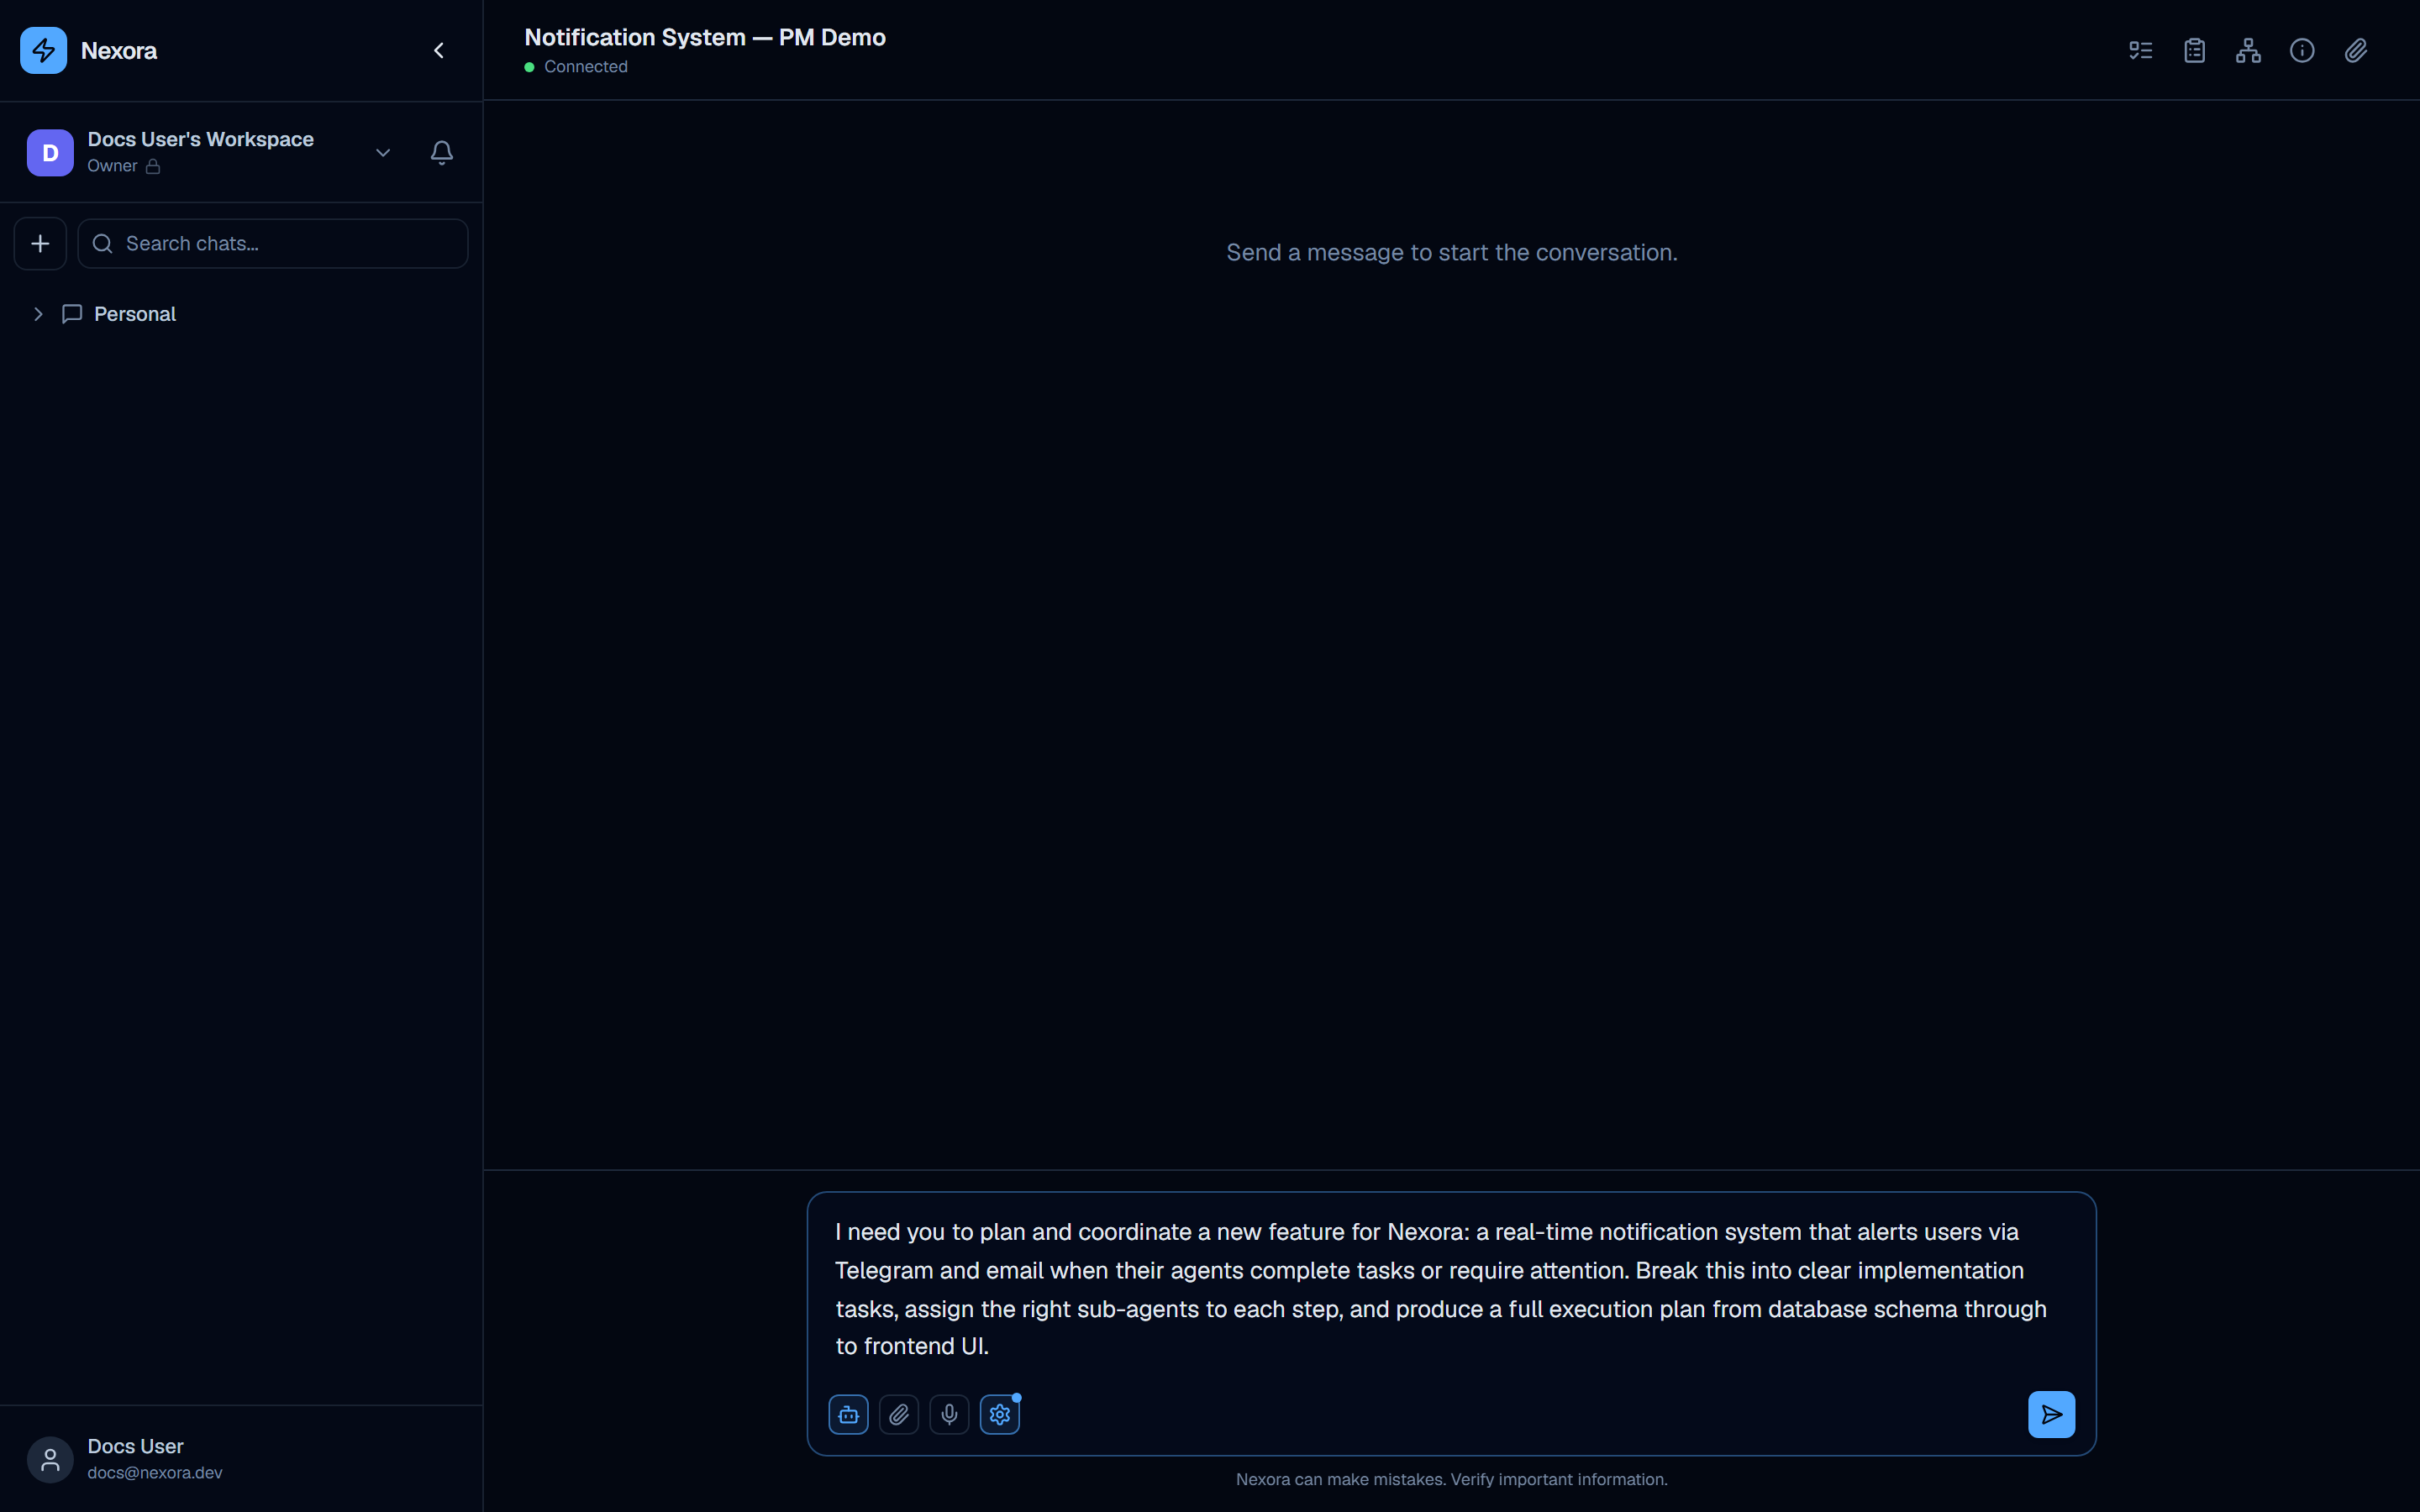
Type your objective in the message input. Be specific: name the deliverables, the technologies involved, and the desired outcome. Then press Enter to submit.
Watch the plan form
Within seconds the PM creates a structured execution plan. The Execution plan panel (top-right icons) populates with numbered steps. Sub-agents begin spawning — you can see them in the Active Agents strip at the bottom of the sidebar.
What happens during a PM session
Step 1 — Plan generation
The PM reads your objective and generates a structured execution plan. The plan appears immediately in the Execution plan panel on the right side of the chat interface with each step numbered and in “pending” status.
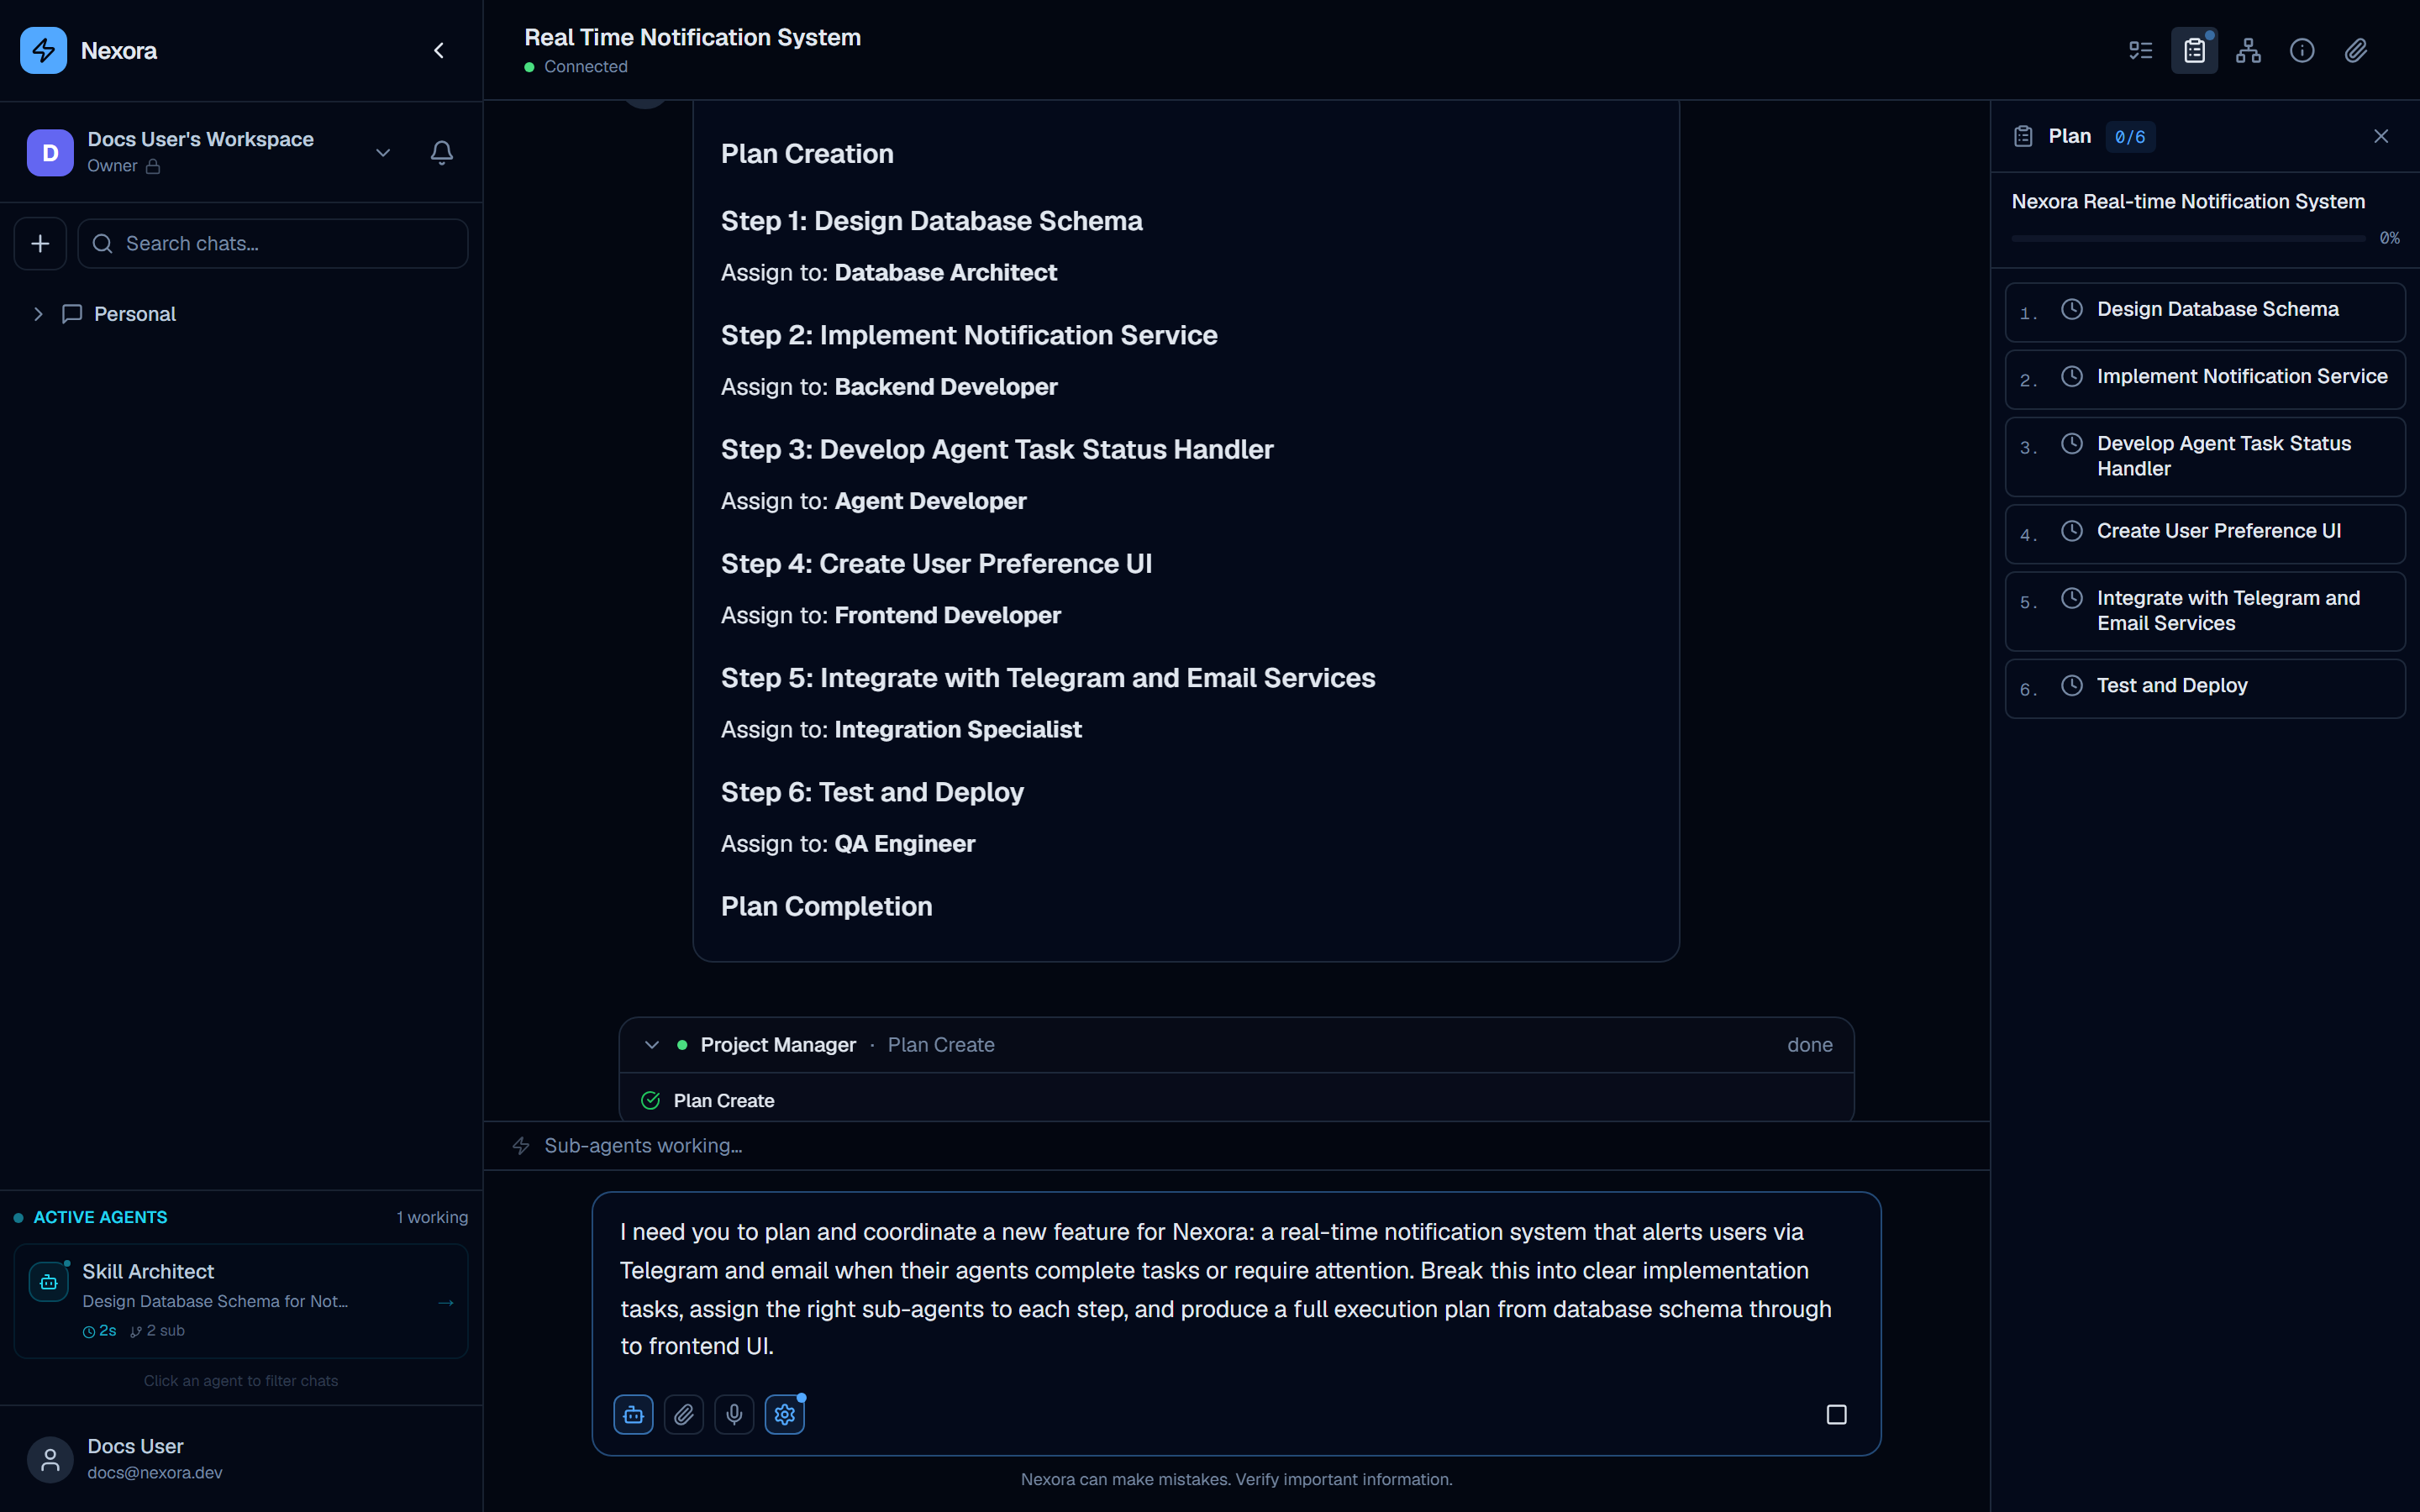
For the example “Real-time Notification System” objective, the PM generated this plan:
Step 1: Design Database Schema
  → Assign to: Database Architect

Step 2: Implement Notification Service
  → Assign to: Backend Developer

Step 3: Develop Agent Task Status Handler
  → Assign to: Agent Developer

Step 4: Create User Preference UI
  → Assign to: Frontend Developer

Step 5: Integrate with Telegram and Email Services
  → Assign to: Integration Specialist

Step 6: Test and Deploy
  → Assign to: QA Engineer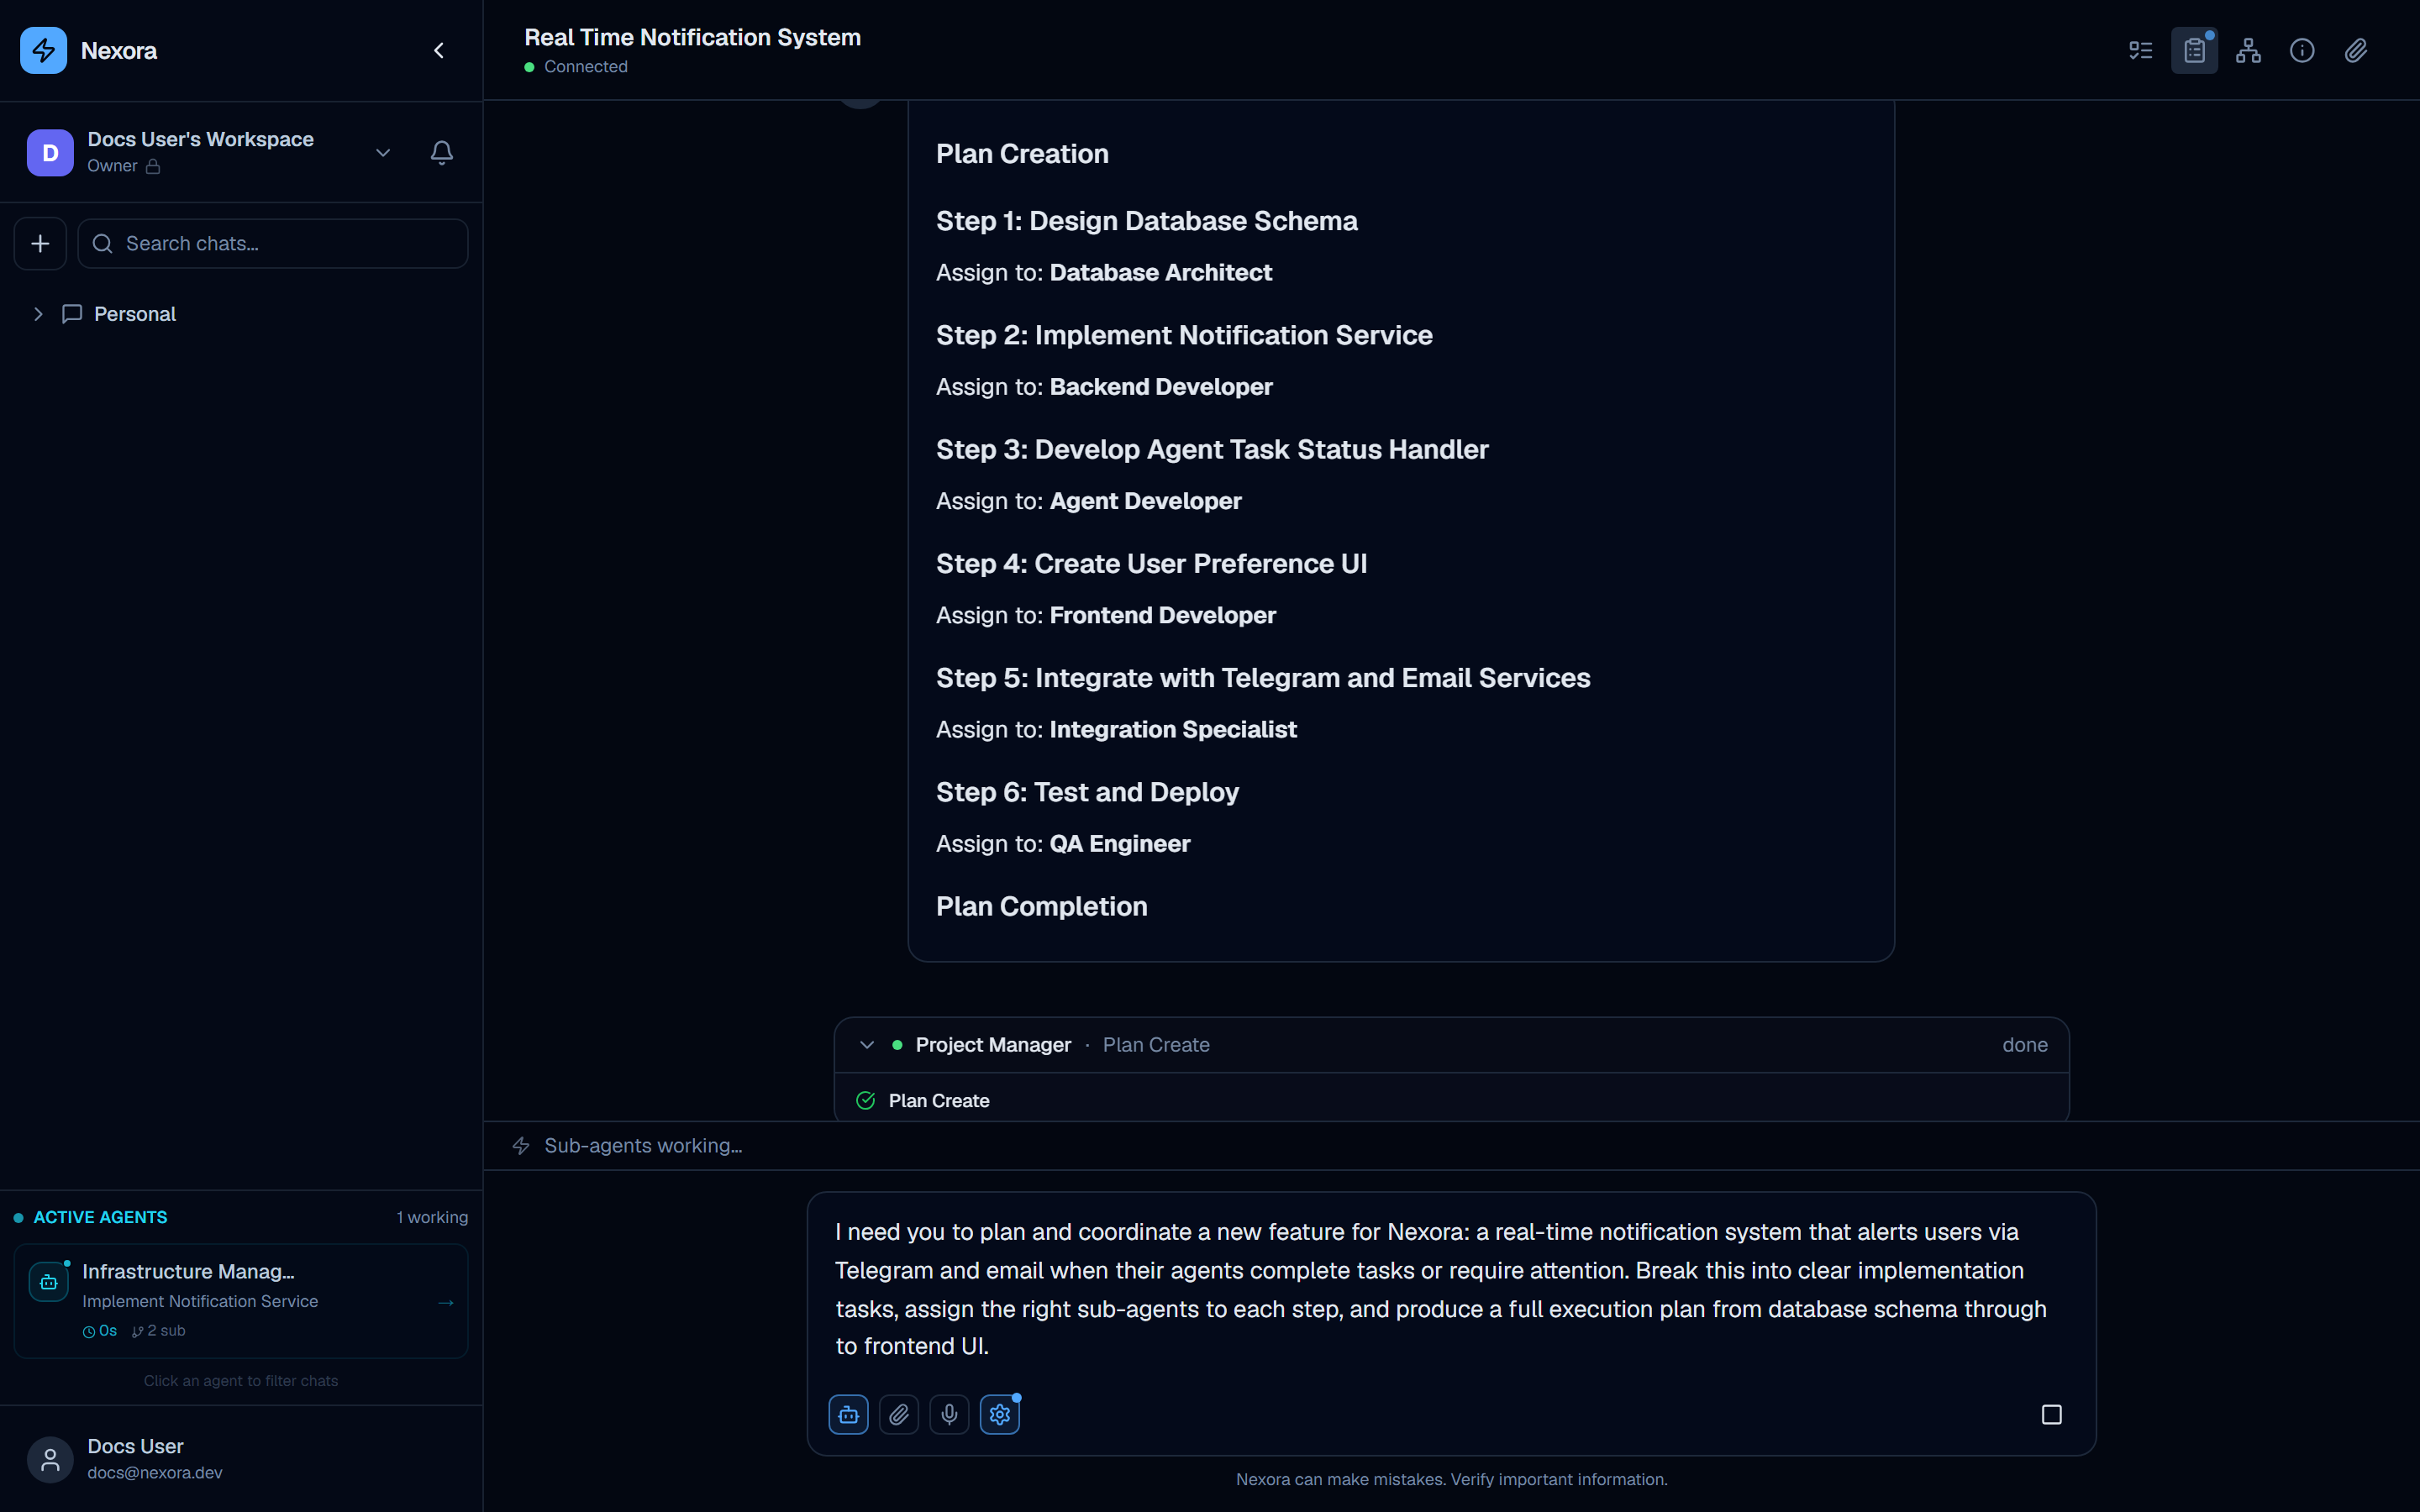
Step 2 — Sub-agent spawning
For each step in the plan, the PM selects and spawns an appropriate specialist agent. You do not configure this — the PM reasons about which agent fits each step based on the step description and available agents in your organization.
Common sub-agent assignments:
| Step type | Agent typically assigned |
|---|---|
| Database schema / migration | Developer |
| Backend route implementation | Developer |
| Frontend component | Developer |
| Test writing | Developer or Tester |
| Documentation | Technical Writer |
| Architecture decisions | Persona Architect |
| Code review | Reviewer |
Step 3 — Execution and progress tracking
Sub-agents execute their steps and return results to the PM. As each step completes:
- The step status in the Execution plan panel updates from “pending” → “in progress” → “done”
- The Task tree panel marks the corresponding task as complete
- The Conversation stats panel shows growing token usage as sub-agents consume context
- Any files created or modified by agents appear in the Attached files panel
Step 4 — PM reports completion
Once all steps are complete, the PM sends a final summary message in the chat. The summary typically includes:
- What was accomplished
- Files created or modified (with links)
- Any caveats, open questions, or recommended next steps
The five panels during a PM session
The right side of the chat interface shows up to five panels during an active PM session. You can open and collapse each independently.
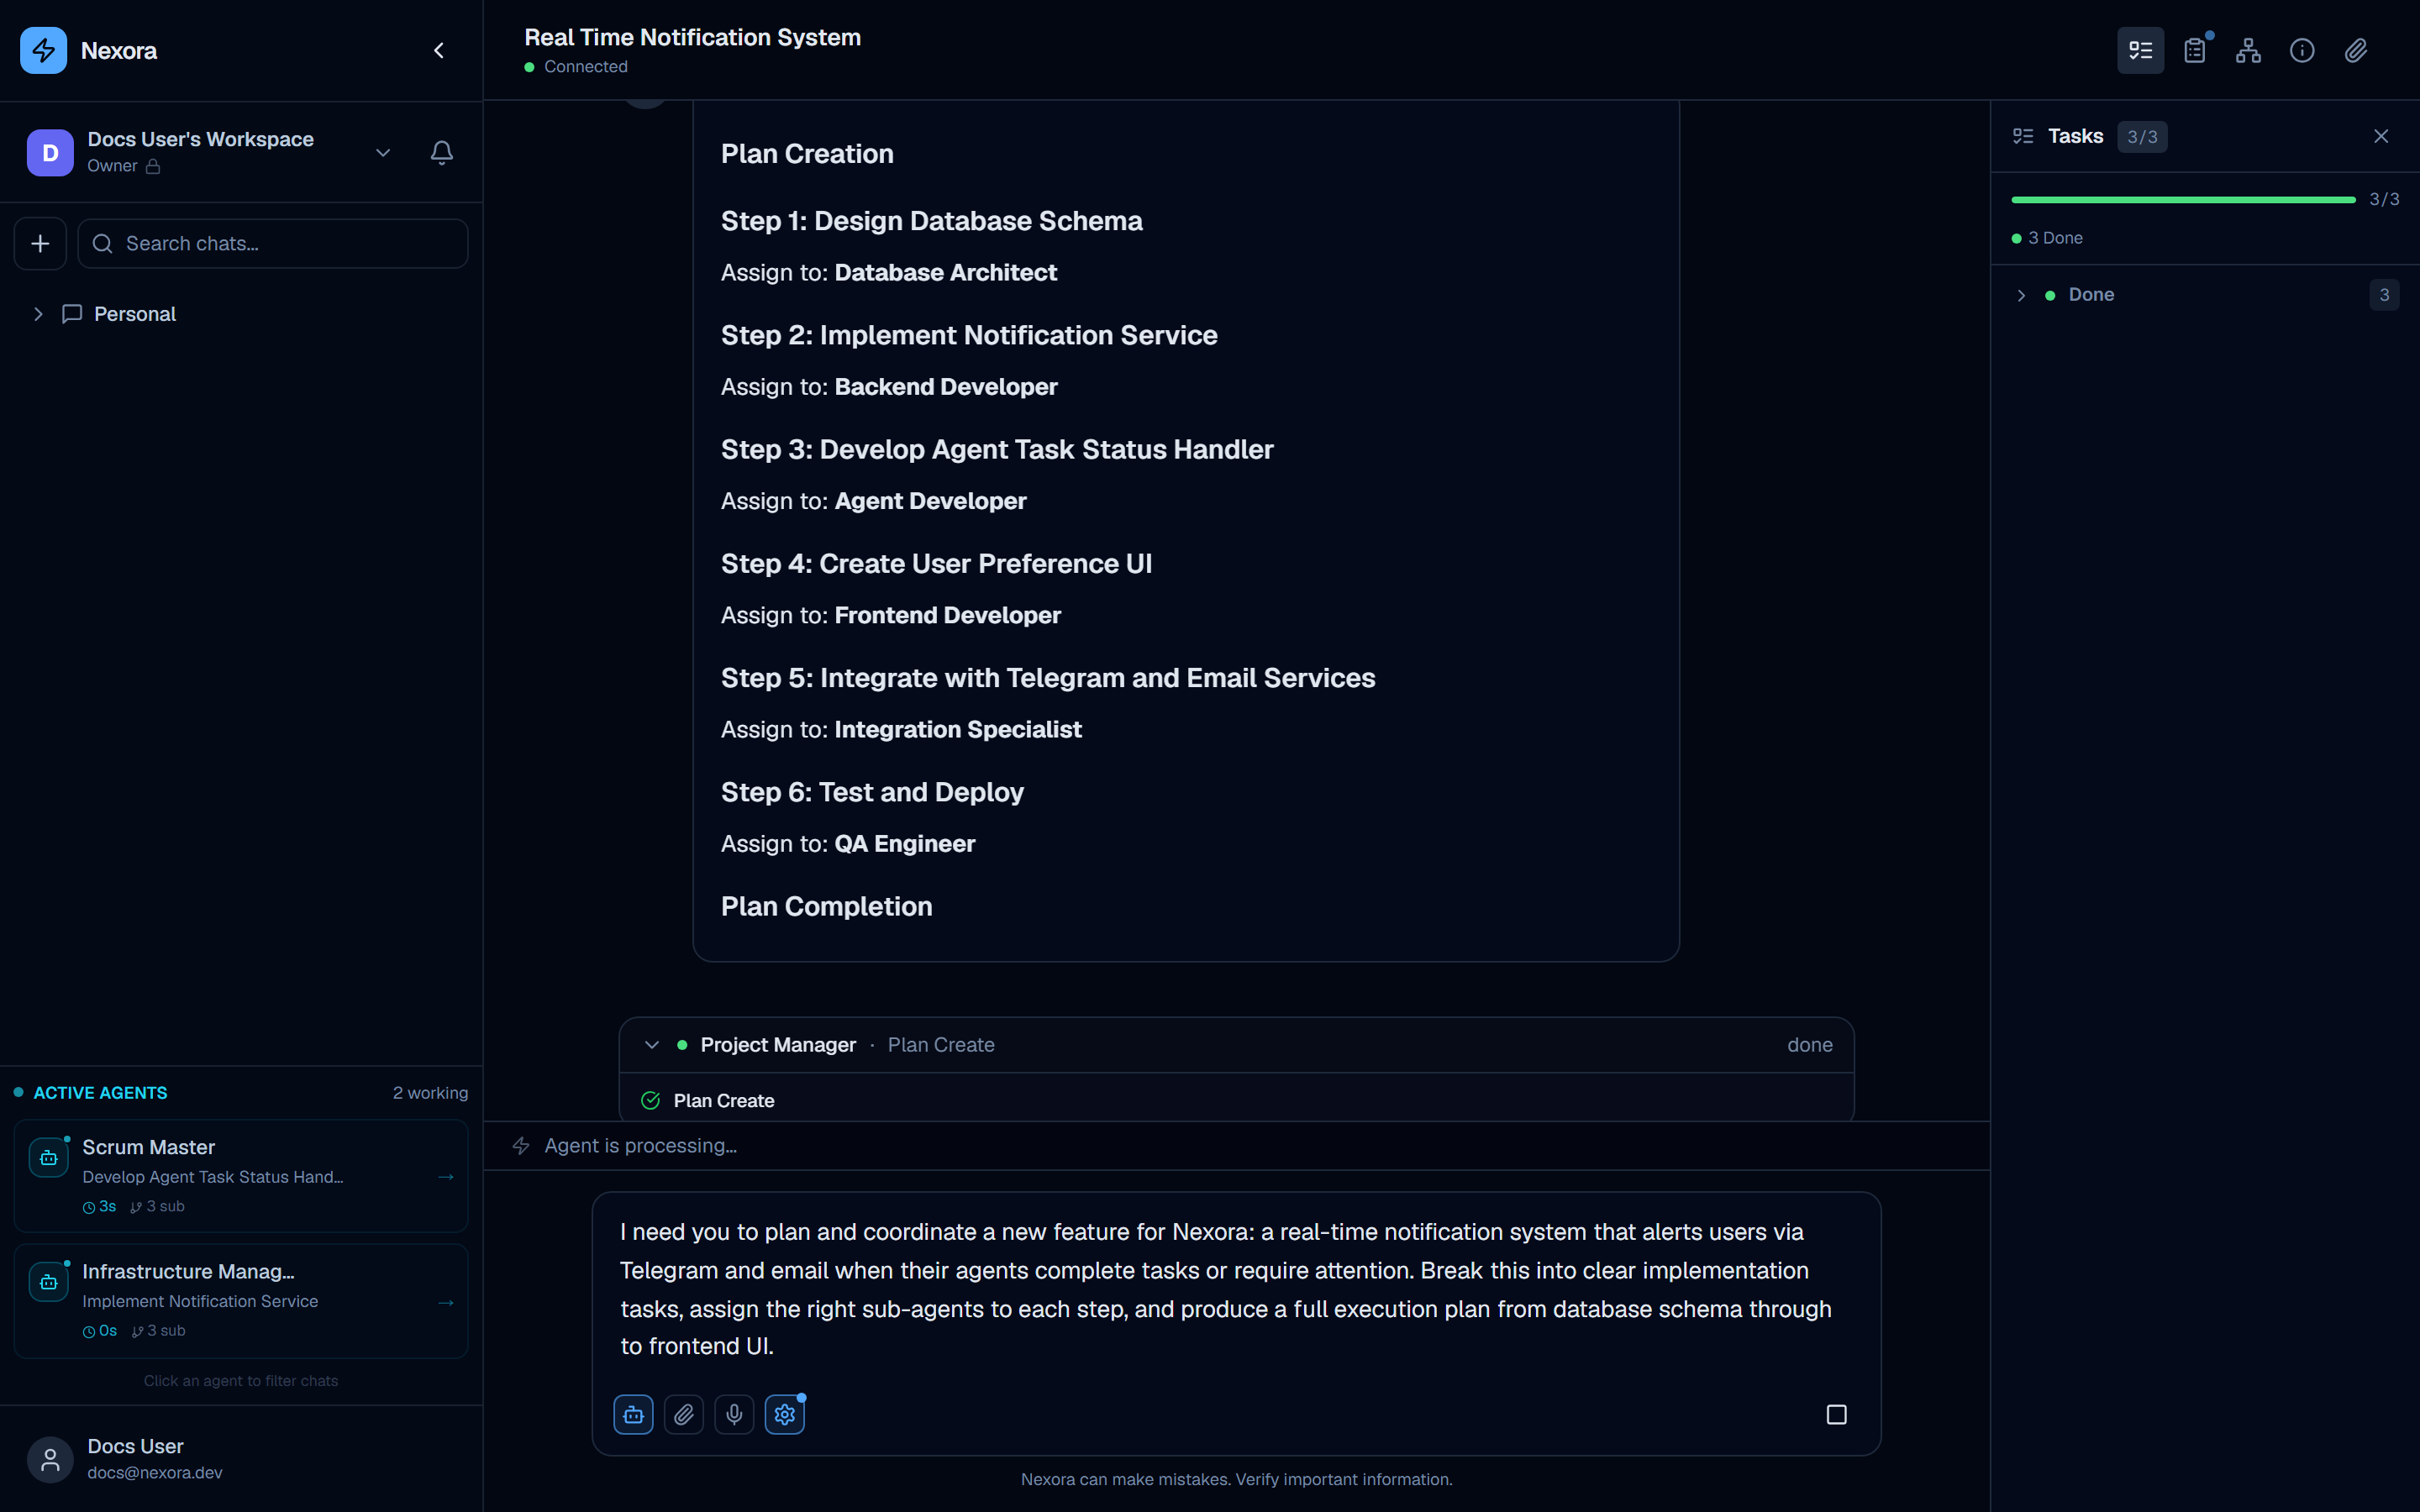
1. Task tree
The Task tree shows every task the PM has created, organized hierarchically. Each task shows:
- Task title
- Assigned sub-agent name
- Status badge:
pending/in-progress/done/failed
Tasks are created at the start of the session and updated in real time as sub-agents complete their work. The example above shows “3/3 tasks” with a green progress bar, and two sub-agents (Scrum Master and Infrastructure Manager) still working.
2. Execution plan
The Execution plan shows the PM’s structured plan as a numbered list. Unlike the Task tree (which is implementation-level), the Execution plan reflects the PM’s high-level reasoning:
- Each step has a number, description, and status
- Steps the PM is currently working on are highlighted
- Completed steps are marked with a checkmark
This is the panel to watch to understand progress at a glance.
3. Agent hierarchy
The Agent hierarchy opens in a new browser window as an interactive visualization. It shows the PM at the root with sub-agents branching below it — a live tree that updates as new sub-agents are spawned. Use this panel to understand which agents are active and how they relate to each other in the current session.
4. Conversation stats
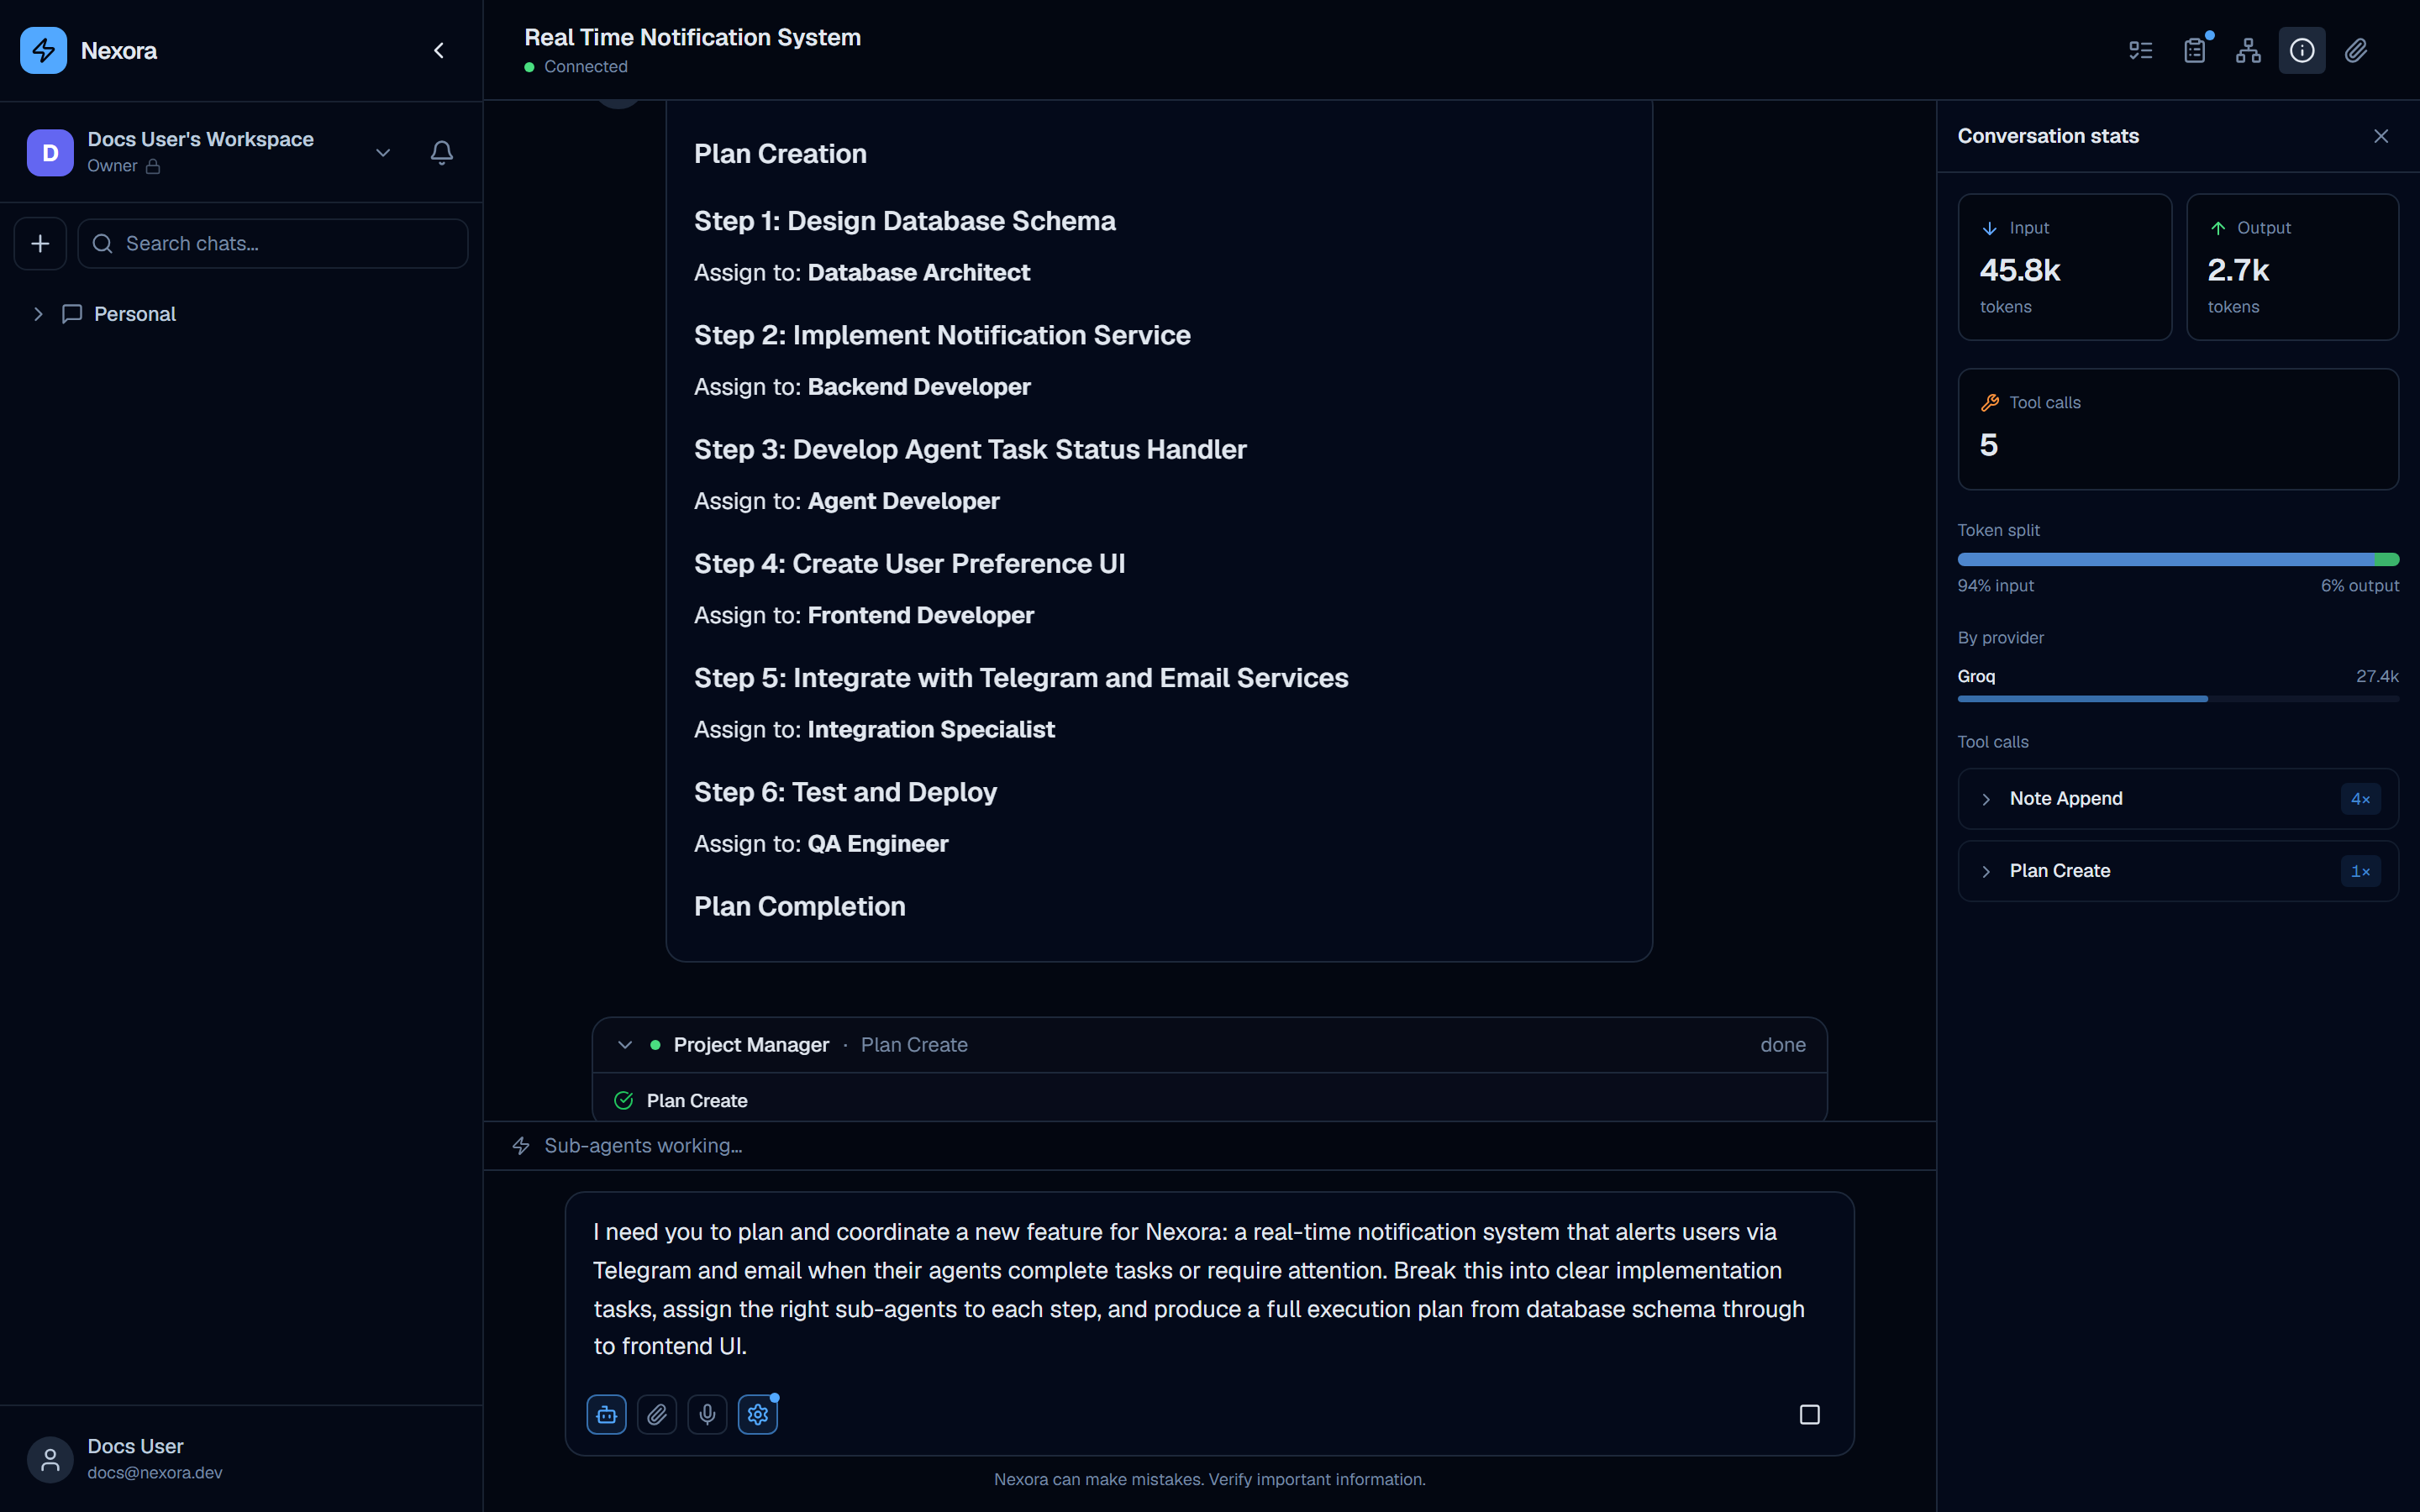
The Conversation stats panel shows aggregate token usage for the session:
- Input tokens — tokens sent to the model (grows as context accumulates). The example above shows 45.8k input tokens for a 6-step PM session.
- Output tokens — tokens generated by the model (2.7k above)
- Tool calls — number of tool executions across all agents (5 in this session: Note Append, Plan Create, and sub-agent calls)
- By provider — breakdown by provider account when multiple accounts are active
Token usage grows substantially during PM sessions because each sub-agent receives full context. For large objectives, expect significantly higher token counts than a standard single-agent chat.
5. Attached files
The Attached files panel lists every file that has been created or modified by agents during the session. Files are linked — clicking a file opens it for preview. This panel provides a quick summary of what the PM session has produced without reading through the full chat.
Example PM request
The session shown in the screenshots on this page used the following objective:
“I need you to plan and coordinate a new feature for Nexora: a real-time notification system that alerts users via Telegram and email when their agents complete tasks or require attention. Break this into clear implementation tasks, assign the right sub-agents to each step, and produce a full execution plan from database schema through to frontend UI.”
The PM responded by creating a 6-step plan (database schema, notification service, agent task handler, user preference UI, Telegram & email integration, test and deploy) and immediately began spawning sub-agents (Skill Architect, Infrastructure Manager, Scrum Master) to work on each step in parallel.
Another example of a well-scoped PM request:
“Plan and implement a new REST API endpoint for user preferences. Include: database migration to add a
user_preferencesJSONB column to the users table, a FastAPI PATCH/api/users/me/preferencesroute that validates and saves preferences, and a frontend settings panel component wired to the new endpoint.”
This works well because it:
- States the deliverables explicitly (migration, route, frontend component)
- Names the specific technologies (FastAPI, JSONB)
- Gives the PM enough detail to assign the right agents without being so prescriptive that it overrides the PM’s planning judgment
Tips for effective PM sessions
Be specific about deliverables. The PM plans around what you ask for. “Improve the user experience” is too vague. “Add a loading skeleton to the chat message list and debounce the search input by 300 ms” gives the PM concrete tasks to assign.
Scope the objective to a single coherent chunk of work. The PM handles multi-step tasks well, but works best when all the steps belong to the same feature or problem. Combining unrelated tasks in one session leads to longer, harder-to-follow plans.
Check the Execution plan panel early. The PM generates its plan before spawning any sub-agents. If the plan looks wrong — wrong steps, wrong order, missing something — you can intervene immediately by sending a correction message before significant work has been done.
Use the Agent hierarchy window for debugging. If the session stalls or a step fails, open the Agent hierarchy to see which sub-agent is stuck and what it was asked to do. You can then send a targeted follow-up message to unblock it.
Token budget awareness. Long PM sessions with many sub-agents consume significant tokens. For very large objectives, consider splitting the work across two separate PM sessions rather than one very long one. This also keeps each Execution plan focused and easier to review.
After a PM session completes, the chat history retains the full record of every sub-agent conversation. Scroll up through the chat to review the detailed work each sub-agent did, not just the PM’s final summary.