Chat
The chat interface is the primary way to interact with Nexora agents. It provides a real-time streaming conversation UI with side panels for monitoring agent activity, execution plans, token usage, and file attachments.
Starting a chat
Open a new chat
From the workspace home, click the New Chat button (blue, primary) or the + icon button in the sidebar. A new empty chat opens in the main content area.
Type your message
Click the message textarea at the bottom of the screen and type your message. The placeholder text reads:
Message… (Enter to send, Shift+Enter for newline, @ to mention files)
Send the message
Press Enter to send, or click the send arrow button on the right side of the input bar. The send button is disabled (greyed out) until at least one character is typed.
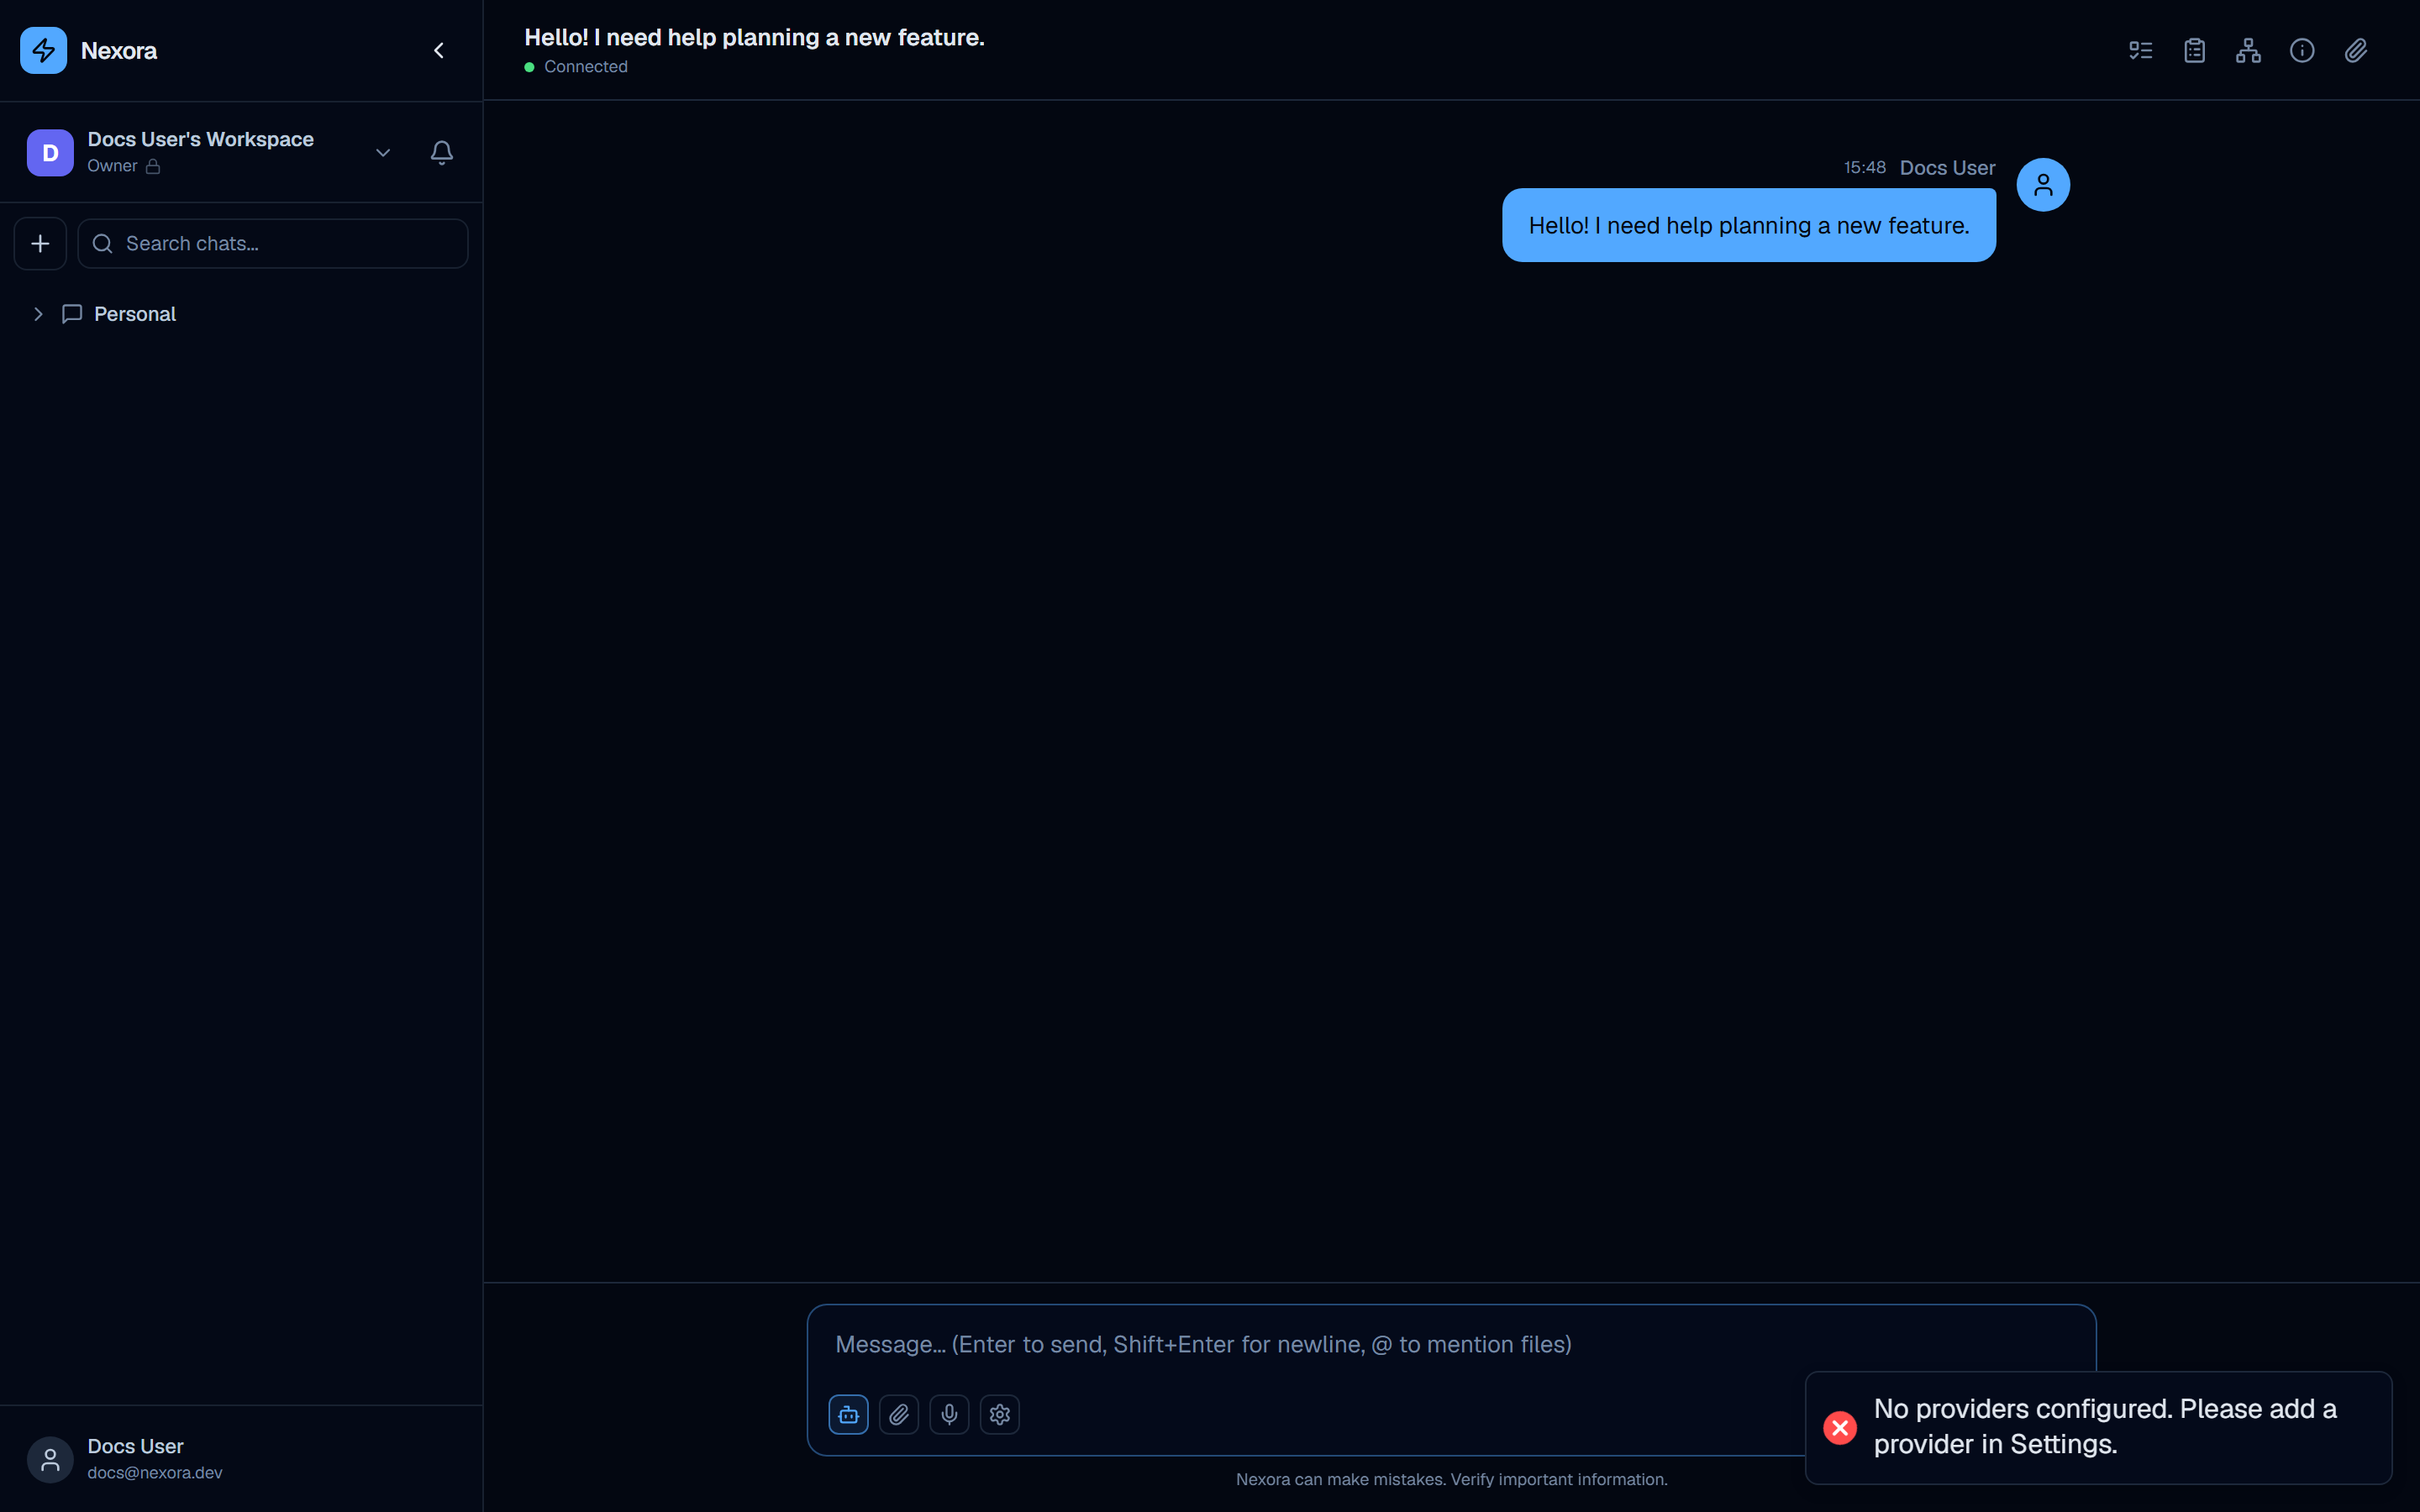
If no AI provider is configured, sending a message shows: “No providers configured. Please add a provider in Settings.” Configure at least one account under Settings → Accounts before chatting.
Header bar
The chat header bar runs across the top of the main content area.
Left side:
- Chat title — derived from the text of the first message. Updates when the first message is sent.
- Connection status dot — a small colored indicator:
- Green dot + “Connected” — WebSocket connection is active
- Yellow dot + “Connecting…” — WebSocket is establishing or reconnecting
Right side: Five panel toggle buttons control side panels and auxiliary views. Each button is an icon; clicking it toggles the corresponding panel open or closed.
Side panels
The five panel toggle buttons in the top-right open distinct panels that overlay the right side of the chat area. Only one panel can be open at a time — clicking a second panel button closes the first.
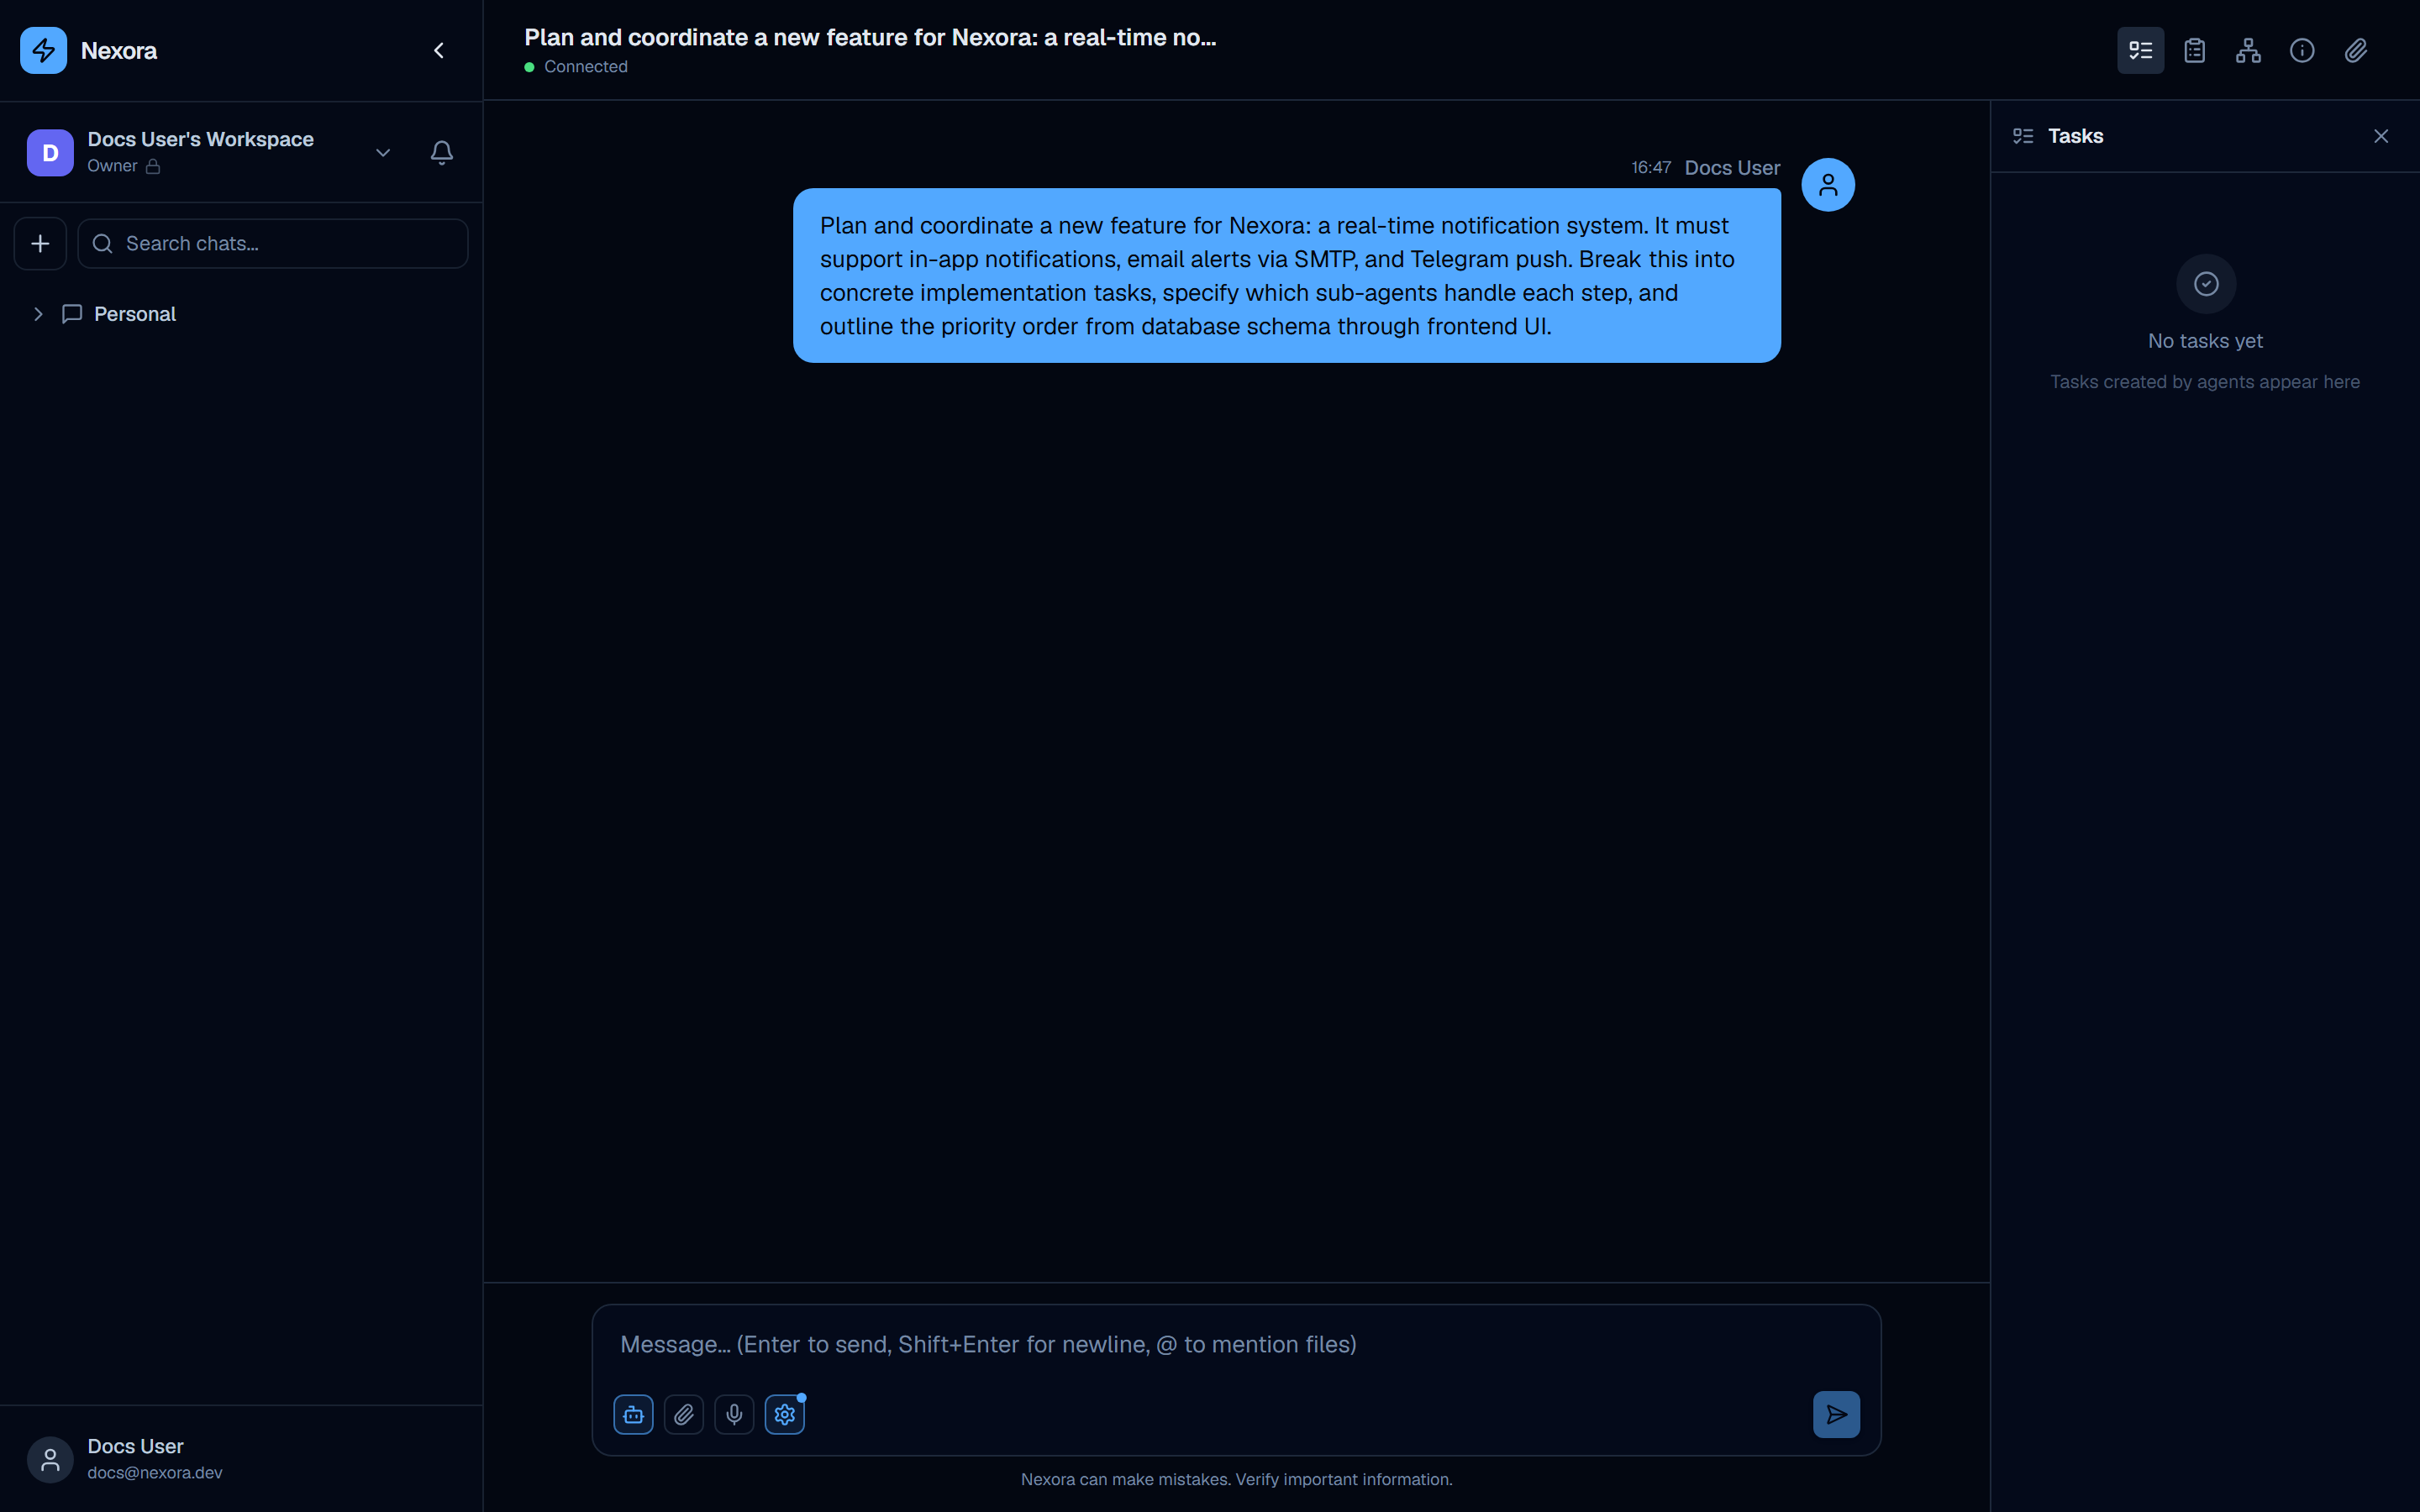
1. Task tree
Icon: List-tree icon
Opens a side panel showing all tasks created by agents during this conversation. Tasks are created automatically when an agent uses the task-creation tool as part of a multi-step workflow.
Empty state:
No tasks yet Tasks created by agents appear here
When tasks exist, they are displayed as a hierarchical tree showing parent tasks and their sub-tasks, each with a status indicator (pending, in progress, completed, failed).
2. Execution plan
Icon: Clipboard icon
Shows the structured multi-step plan created by the Project Manager agent when it begins working on a complex objective. The plan lists each step with its title, description, and current status.
Empty state:
No active plan. The Project Manager creates a plan when it starts working on a multi-step objective.
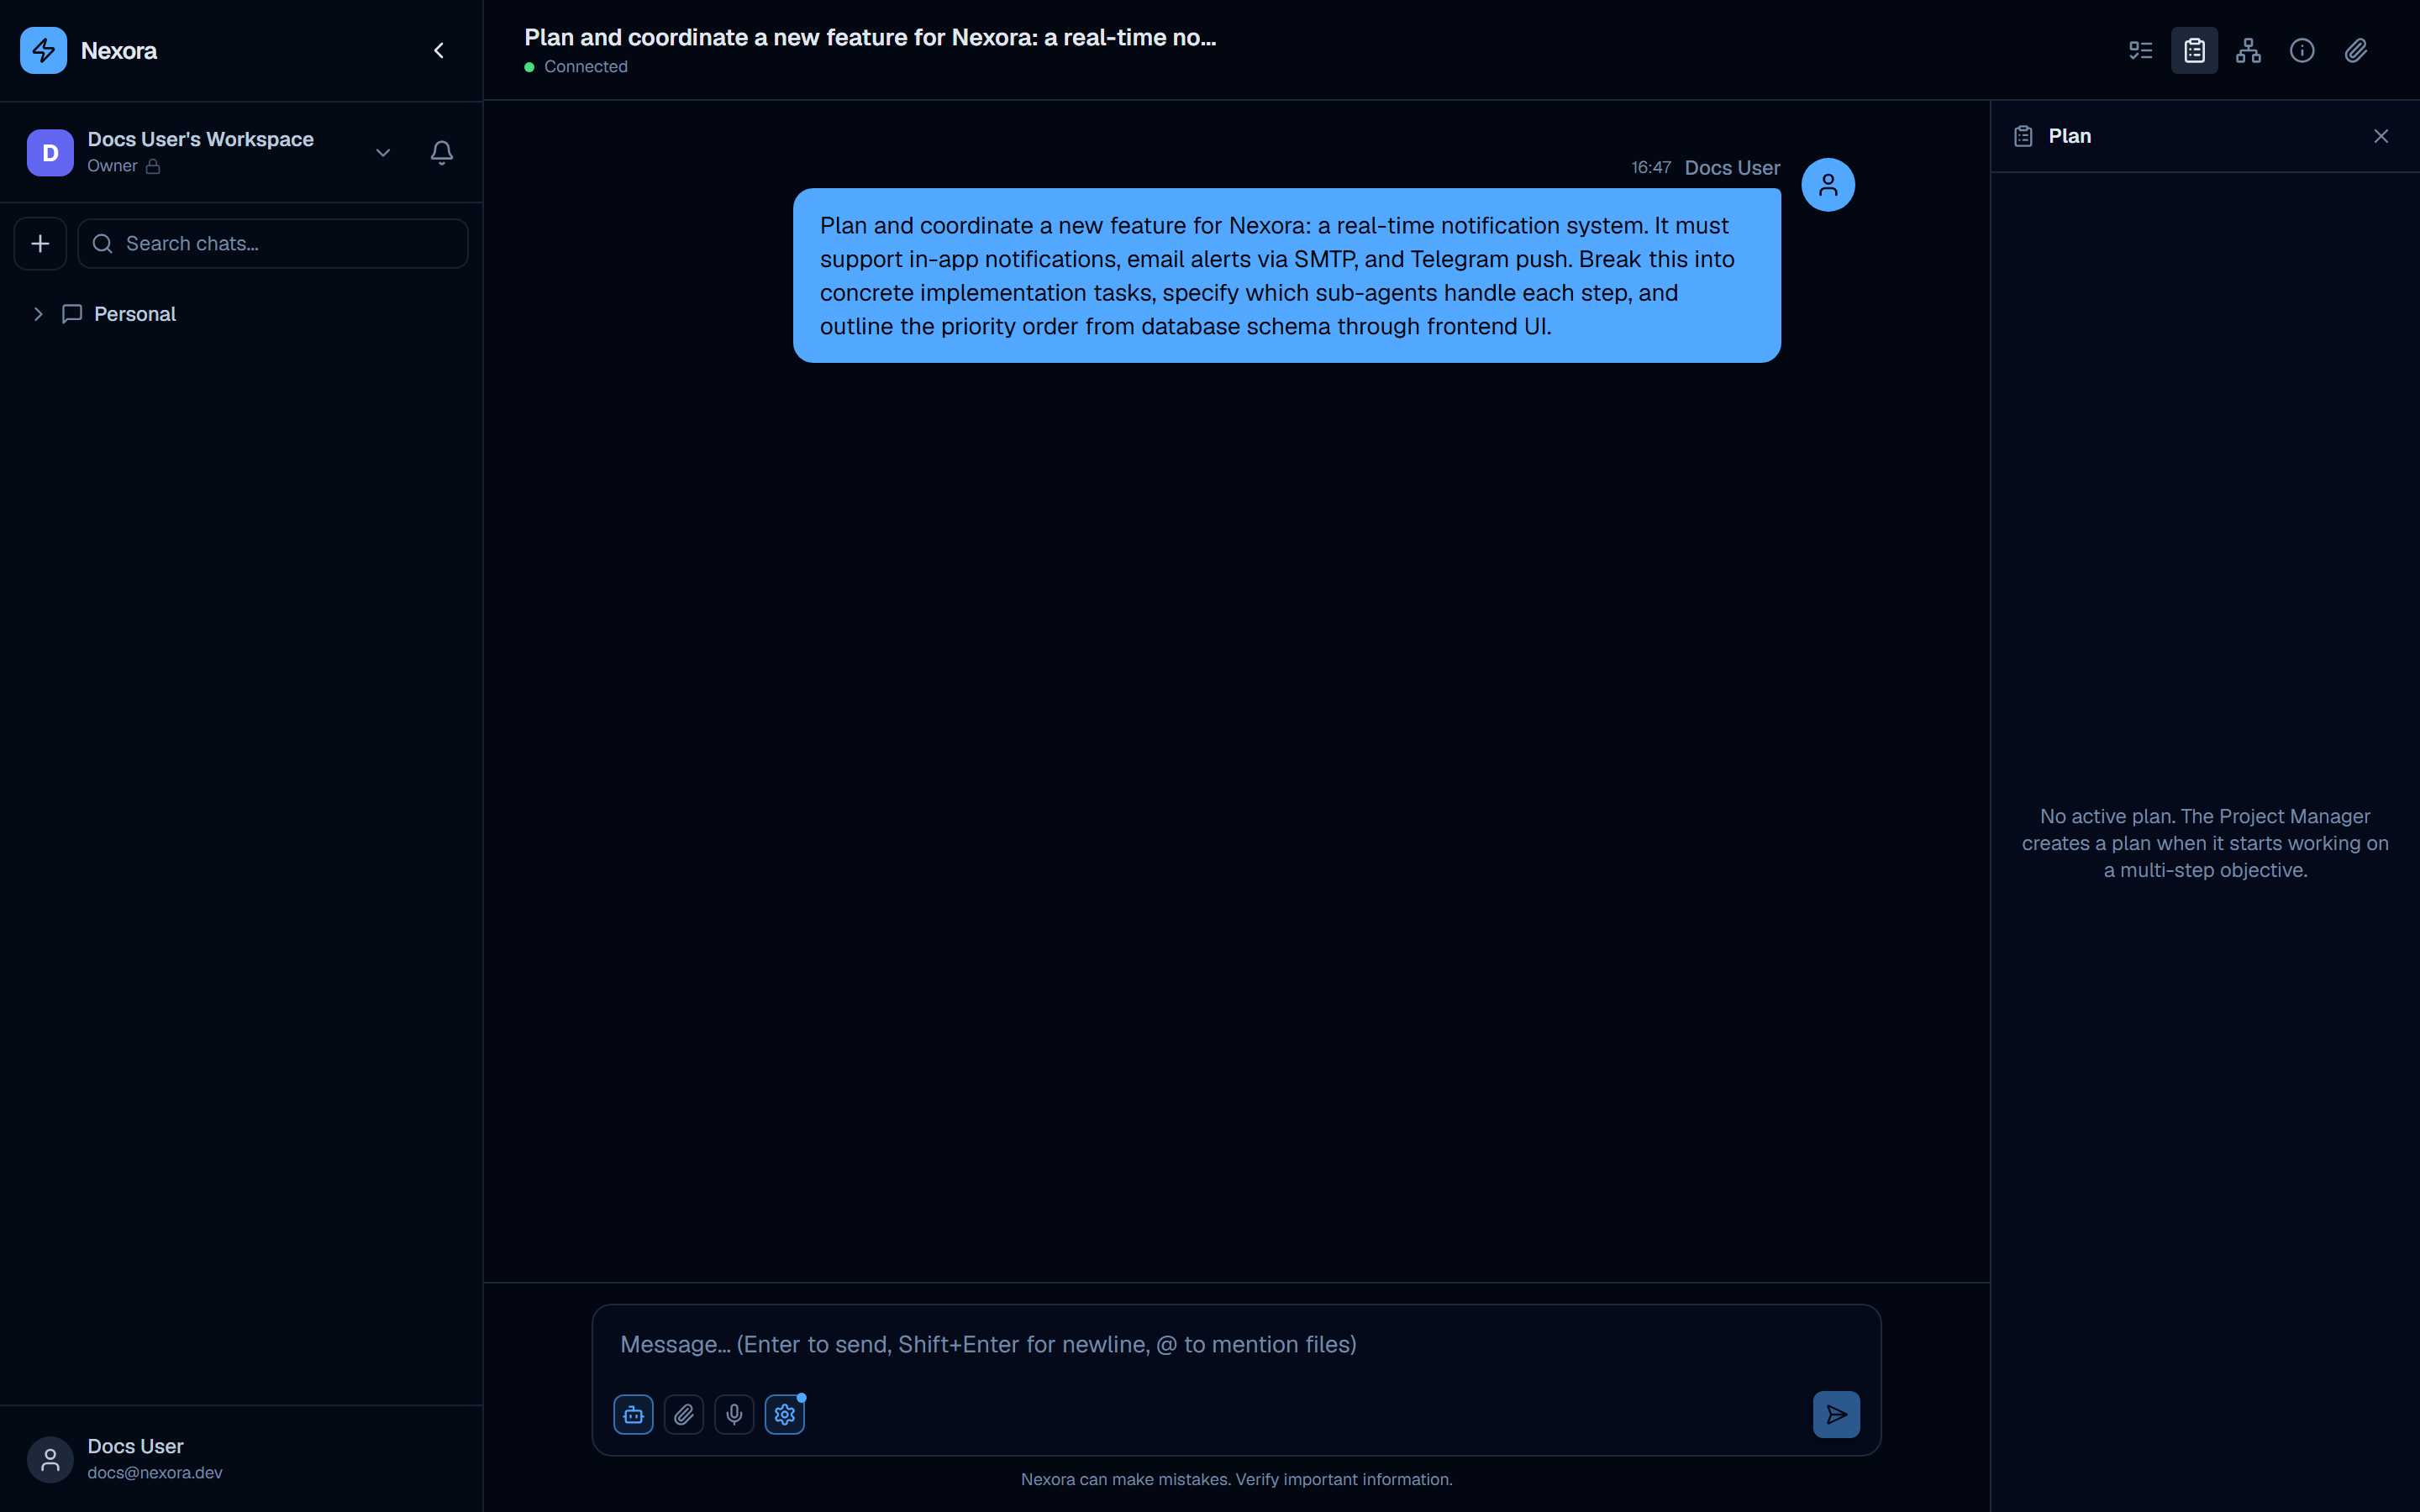
The execution plan updates in real time as the agent progresses through steps. Completed steps are marked, and the currently active step is highlighted.
3. Agent hierarchy
Icon: Hierarchy icon
Unlike the other panels, clicking this button opens a new browser window (or tab) showing the full sub-agent tree for the current conversation. The hierarchy view is rendered as an interactive graph showing which agents spawned which sub-agents and the delegation chain for the active task.
The agent hierarchy opens in a new window so you can monitor it alongside the main chat without losing your place in the conversation.
4. Conversation stats
Icon: Info circle icon
Opens a panel showing token usage and tool call statistics for the current conversation.
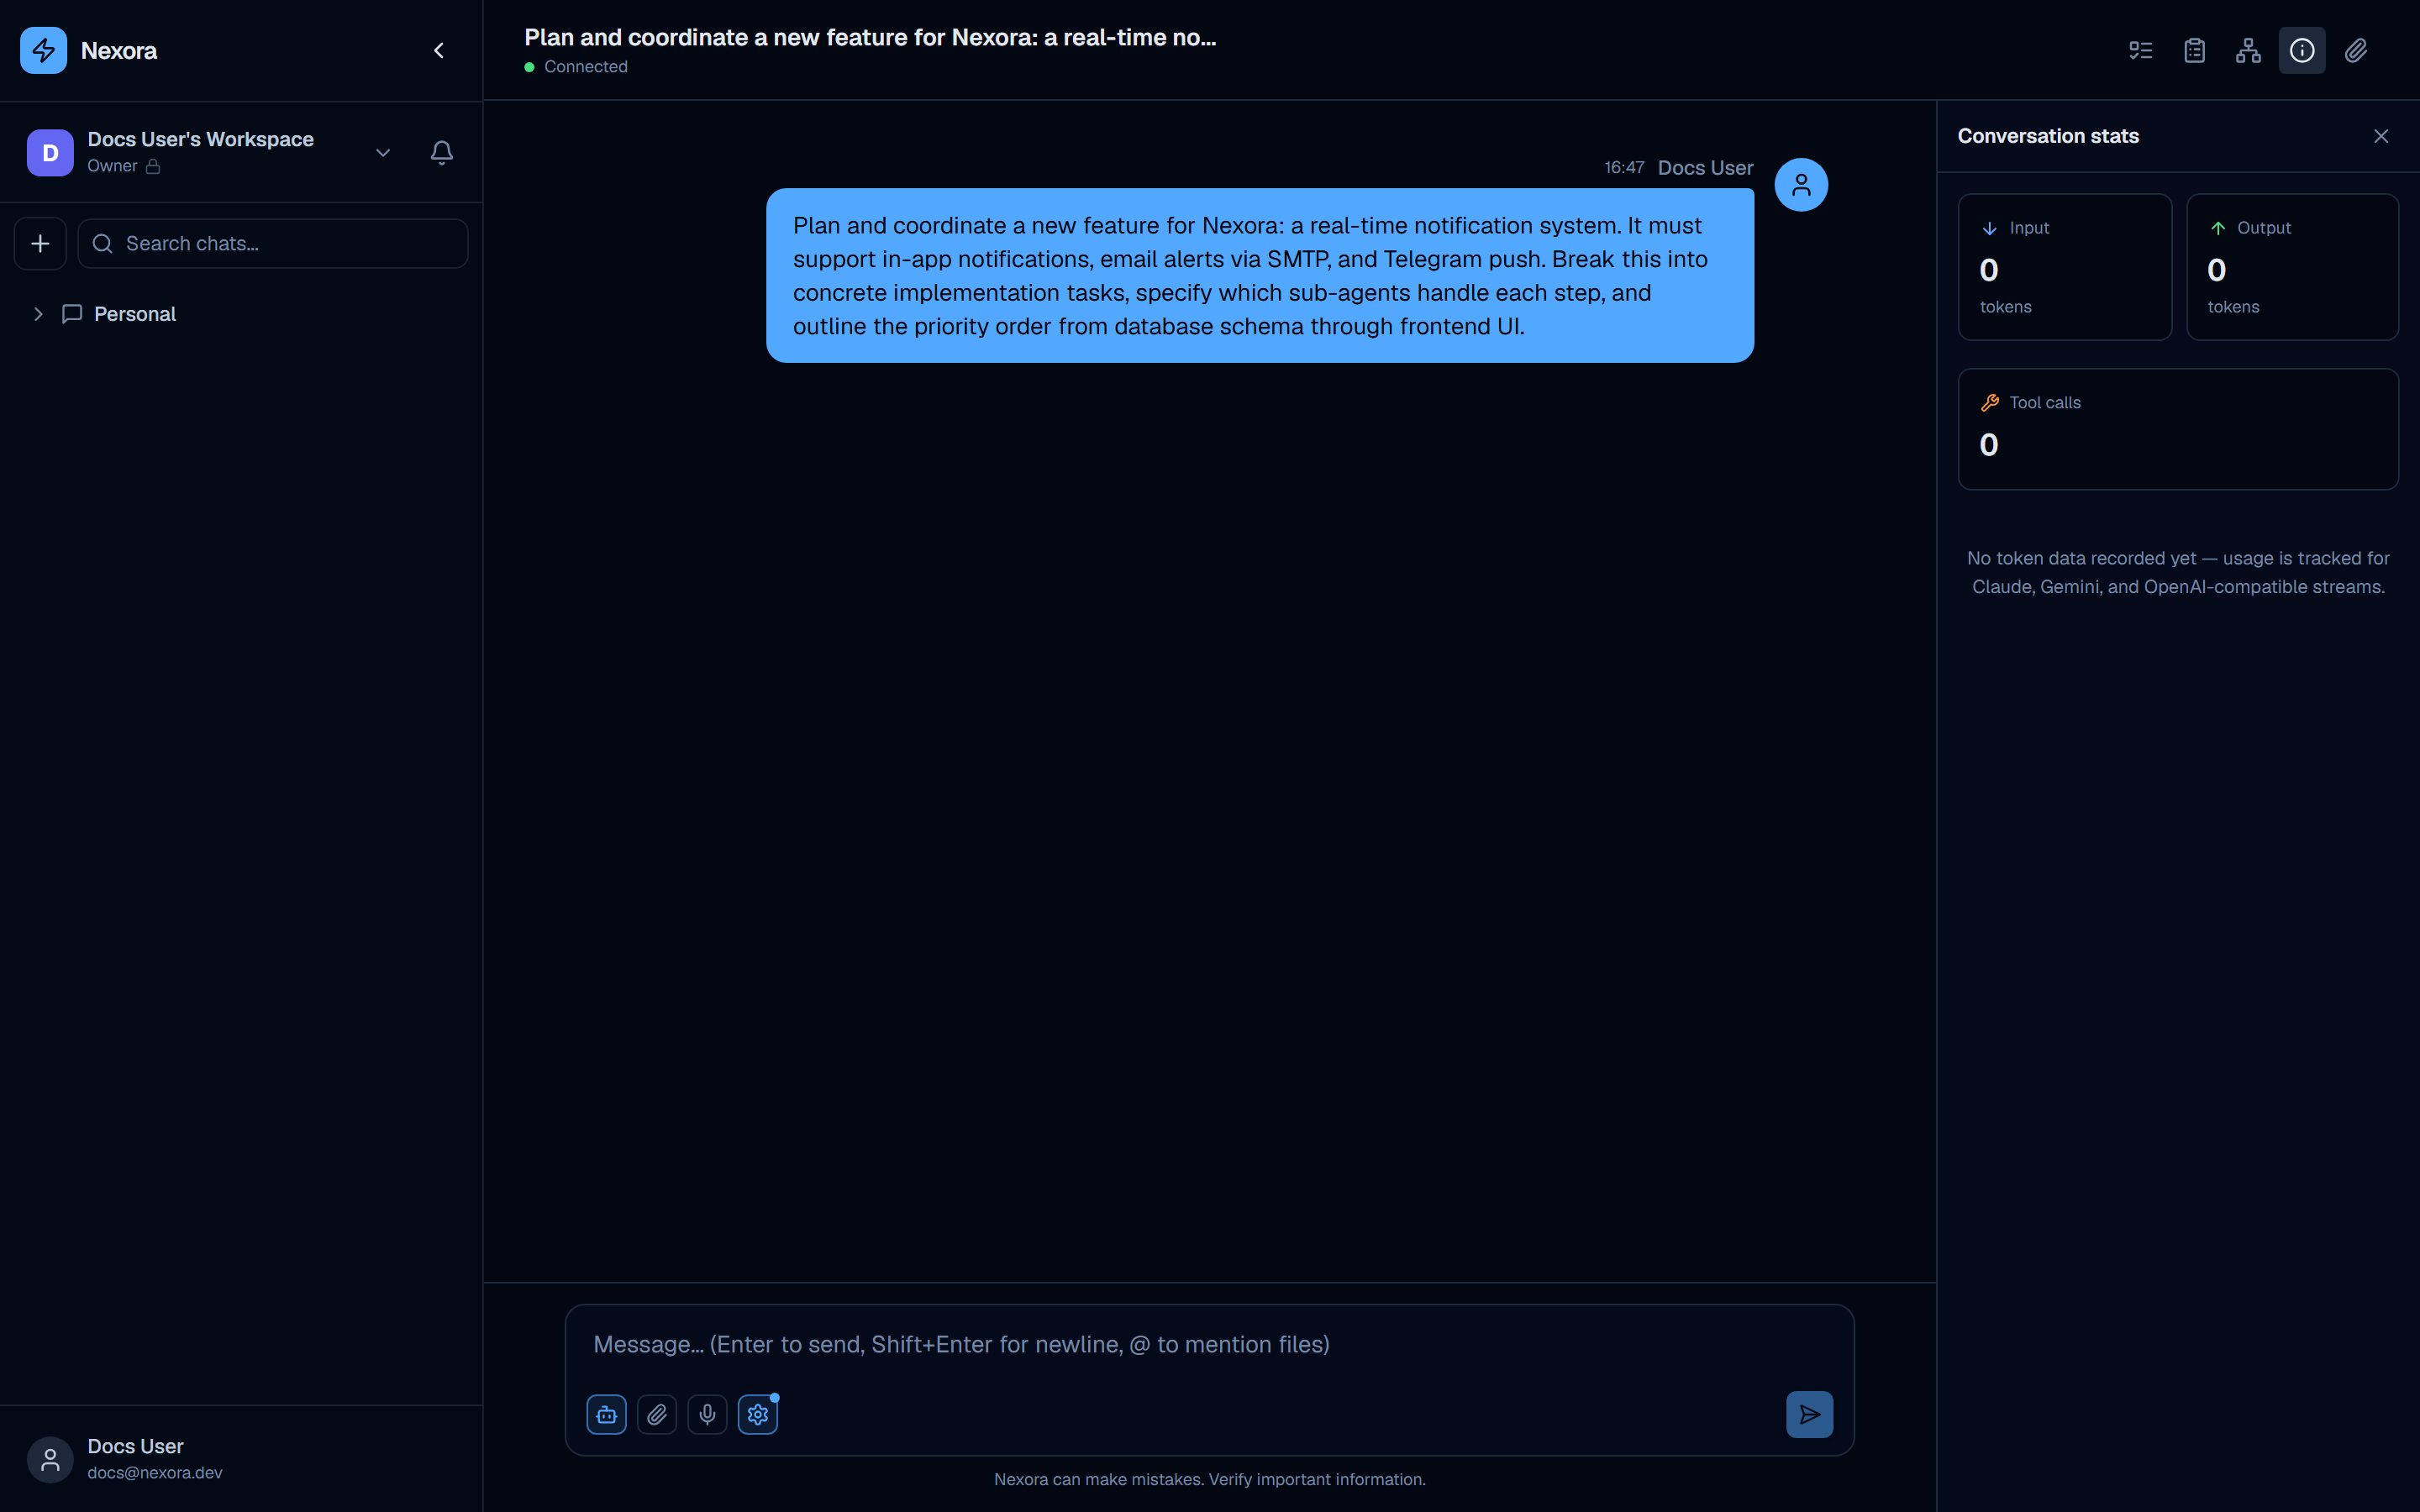
| Stat | Description |
|---|---|
| Input tokens | Total tokens sent to the LLM provider across all turns |
| Output tokens | Total tokens generated by the LLM across all turns |
| Tool calls | Number of tool invocations made by agents in this conversation |
All values show 0 when no provider is configured or no messages have been exchanged.
Token usage is tracked for Claude, Gemini, and OpenAI-compatible streams. Providers that do not return usage data in their stream responses will show 0.
5. Attached files
Icon: Paperclip icon
Opens the file attachment panel for the current chat thread.
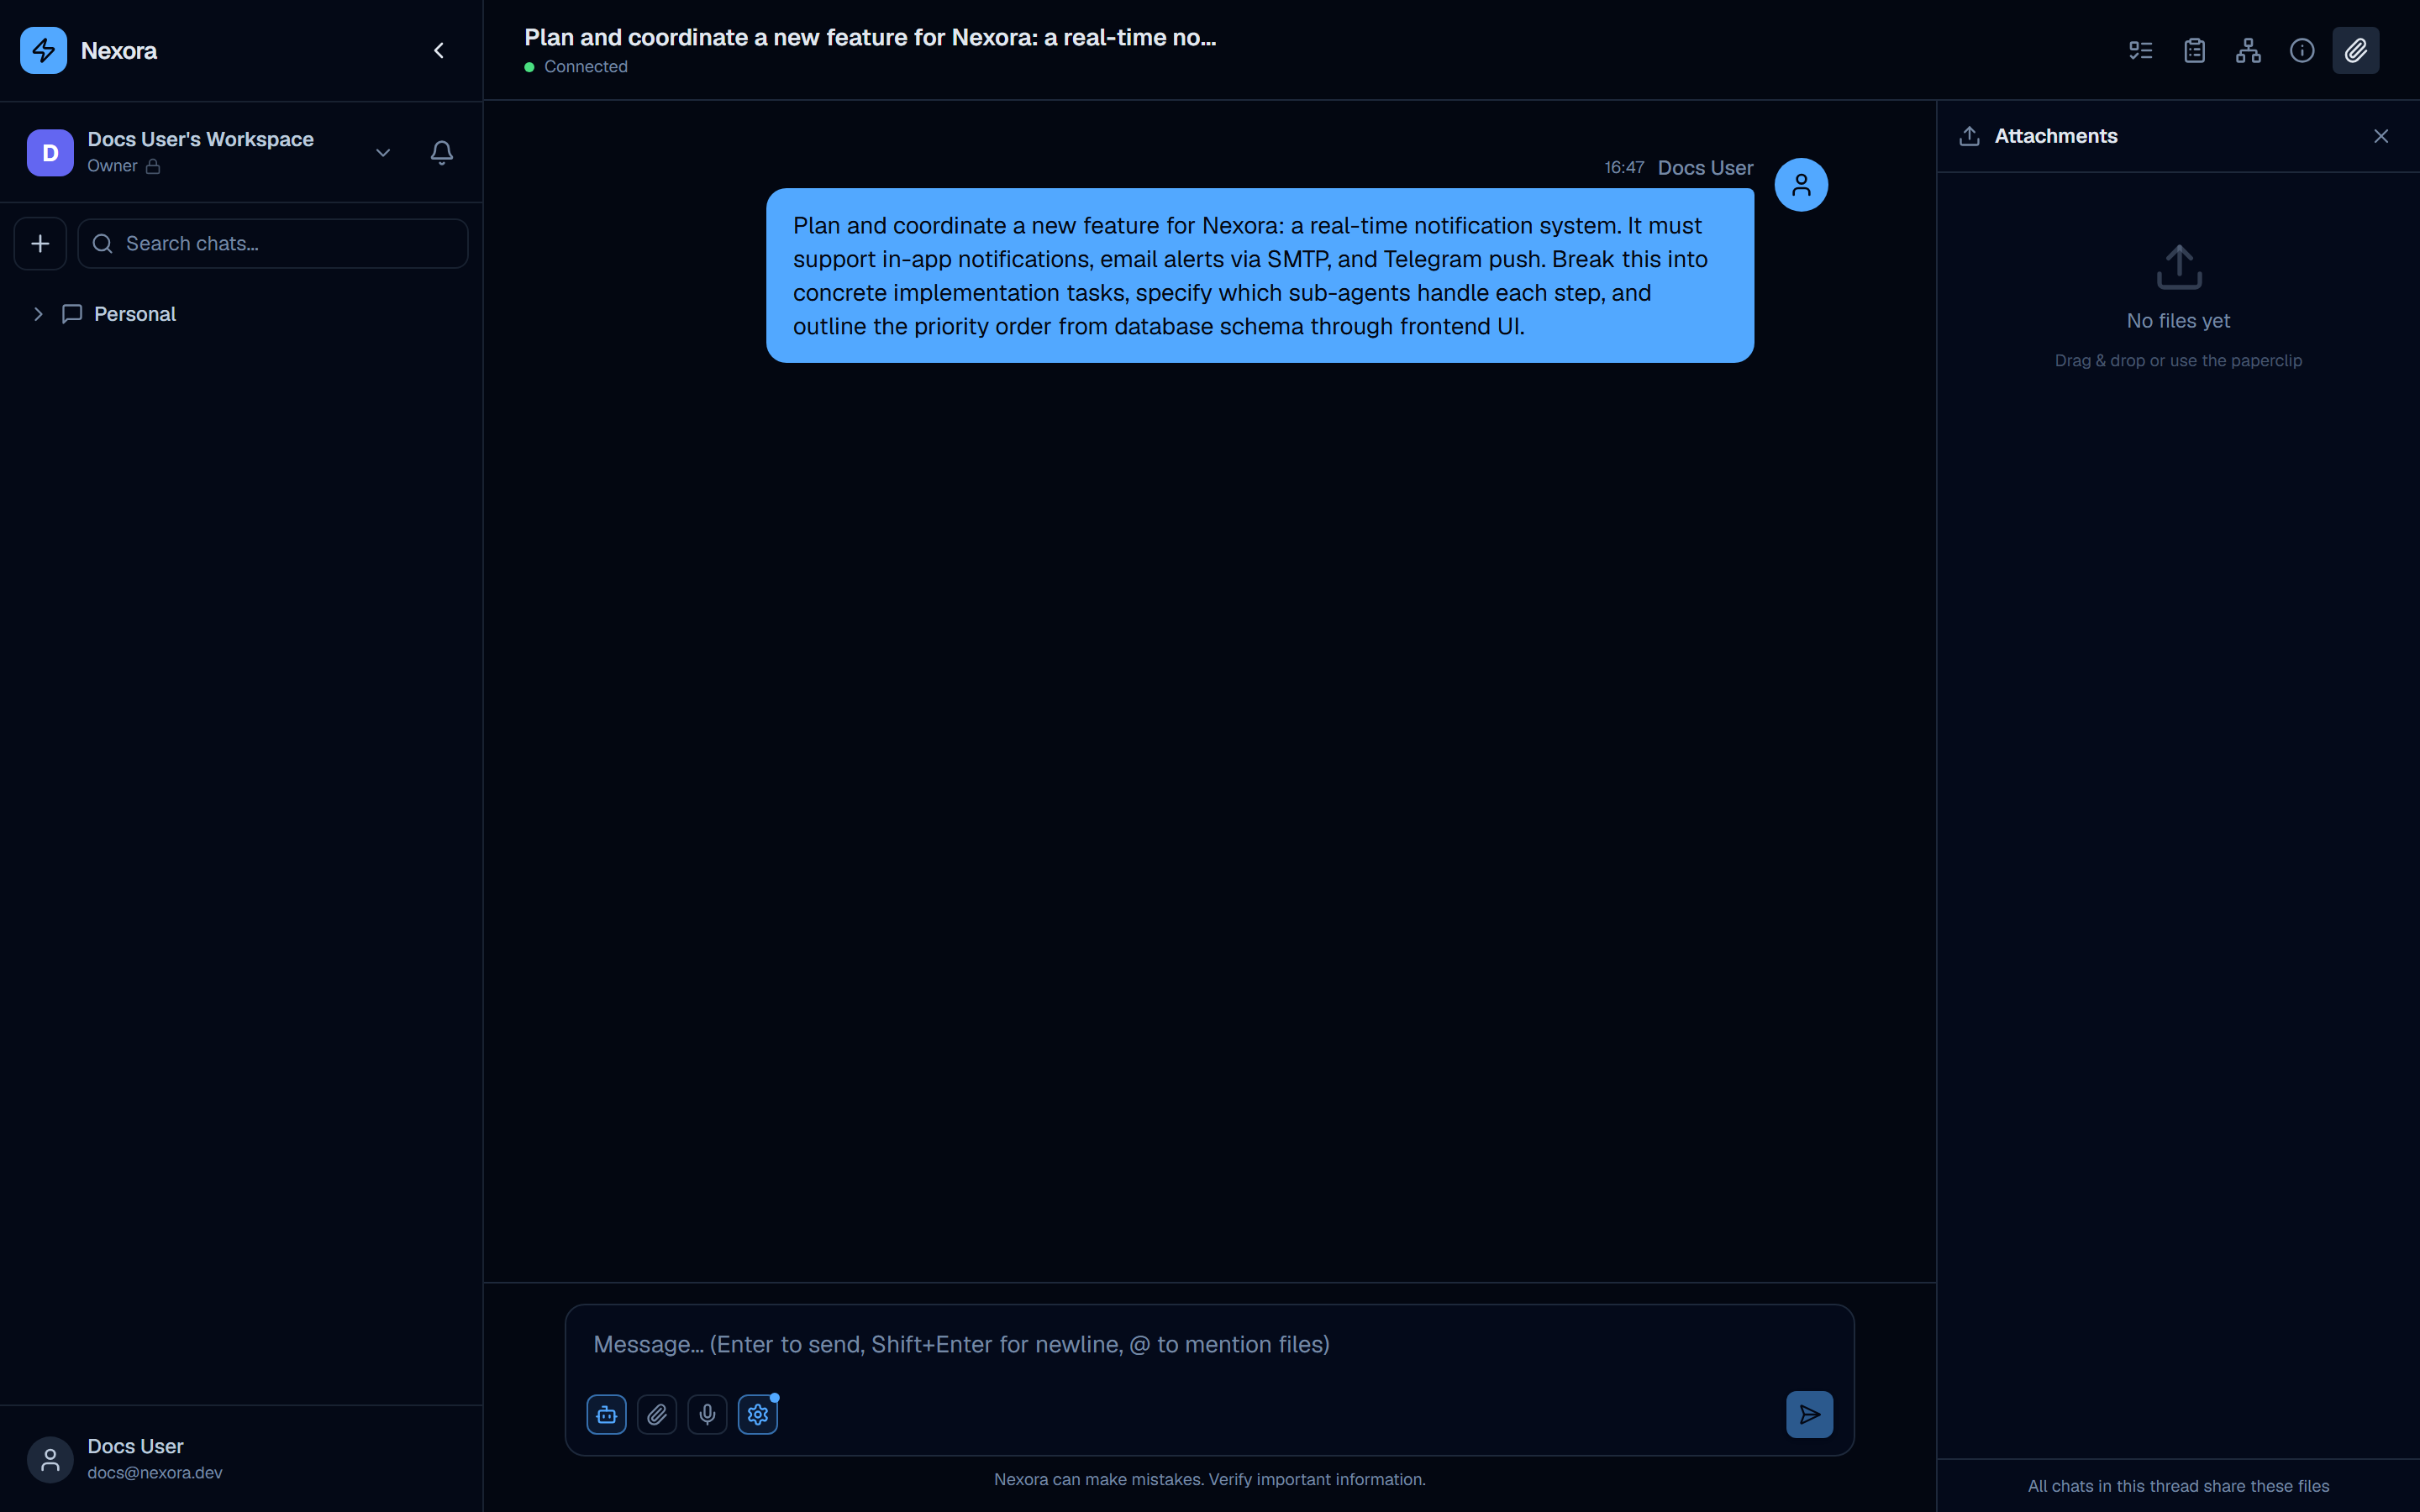
The panel supports:
- Drag and drop — drag files from your filesystem onto the panel
- Paperclip button — click the paperclip icon in the input bar to open a file picker
All chats in this thread share the attached files. Files attached here are available as context to agents across all messages in the conversation.
Message area
The message area is the scrollable central region between the header bar and the input bar.
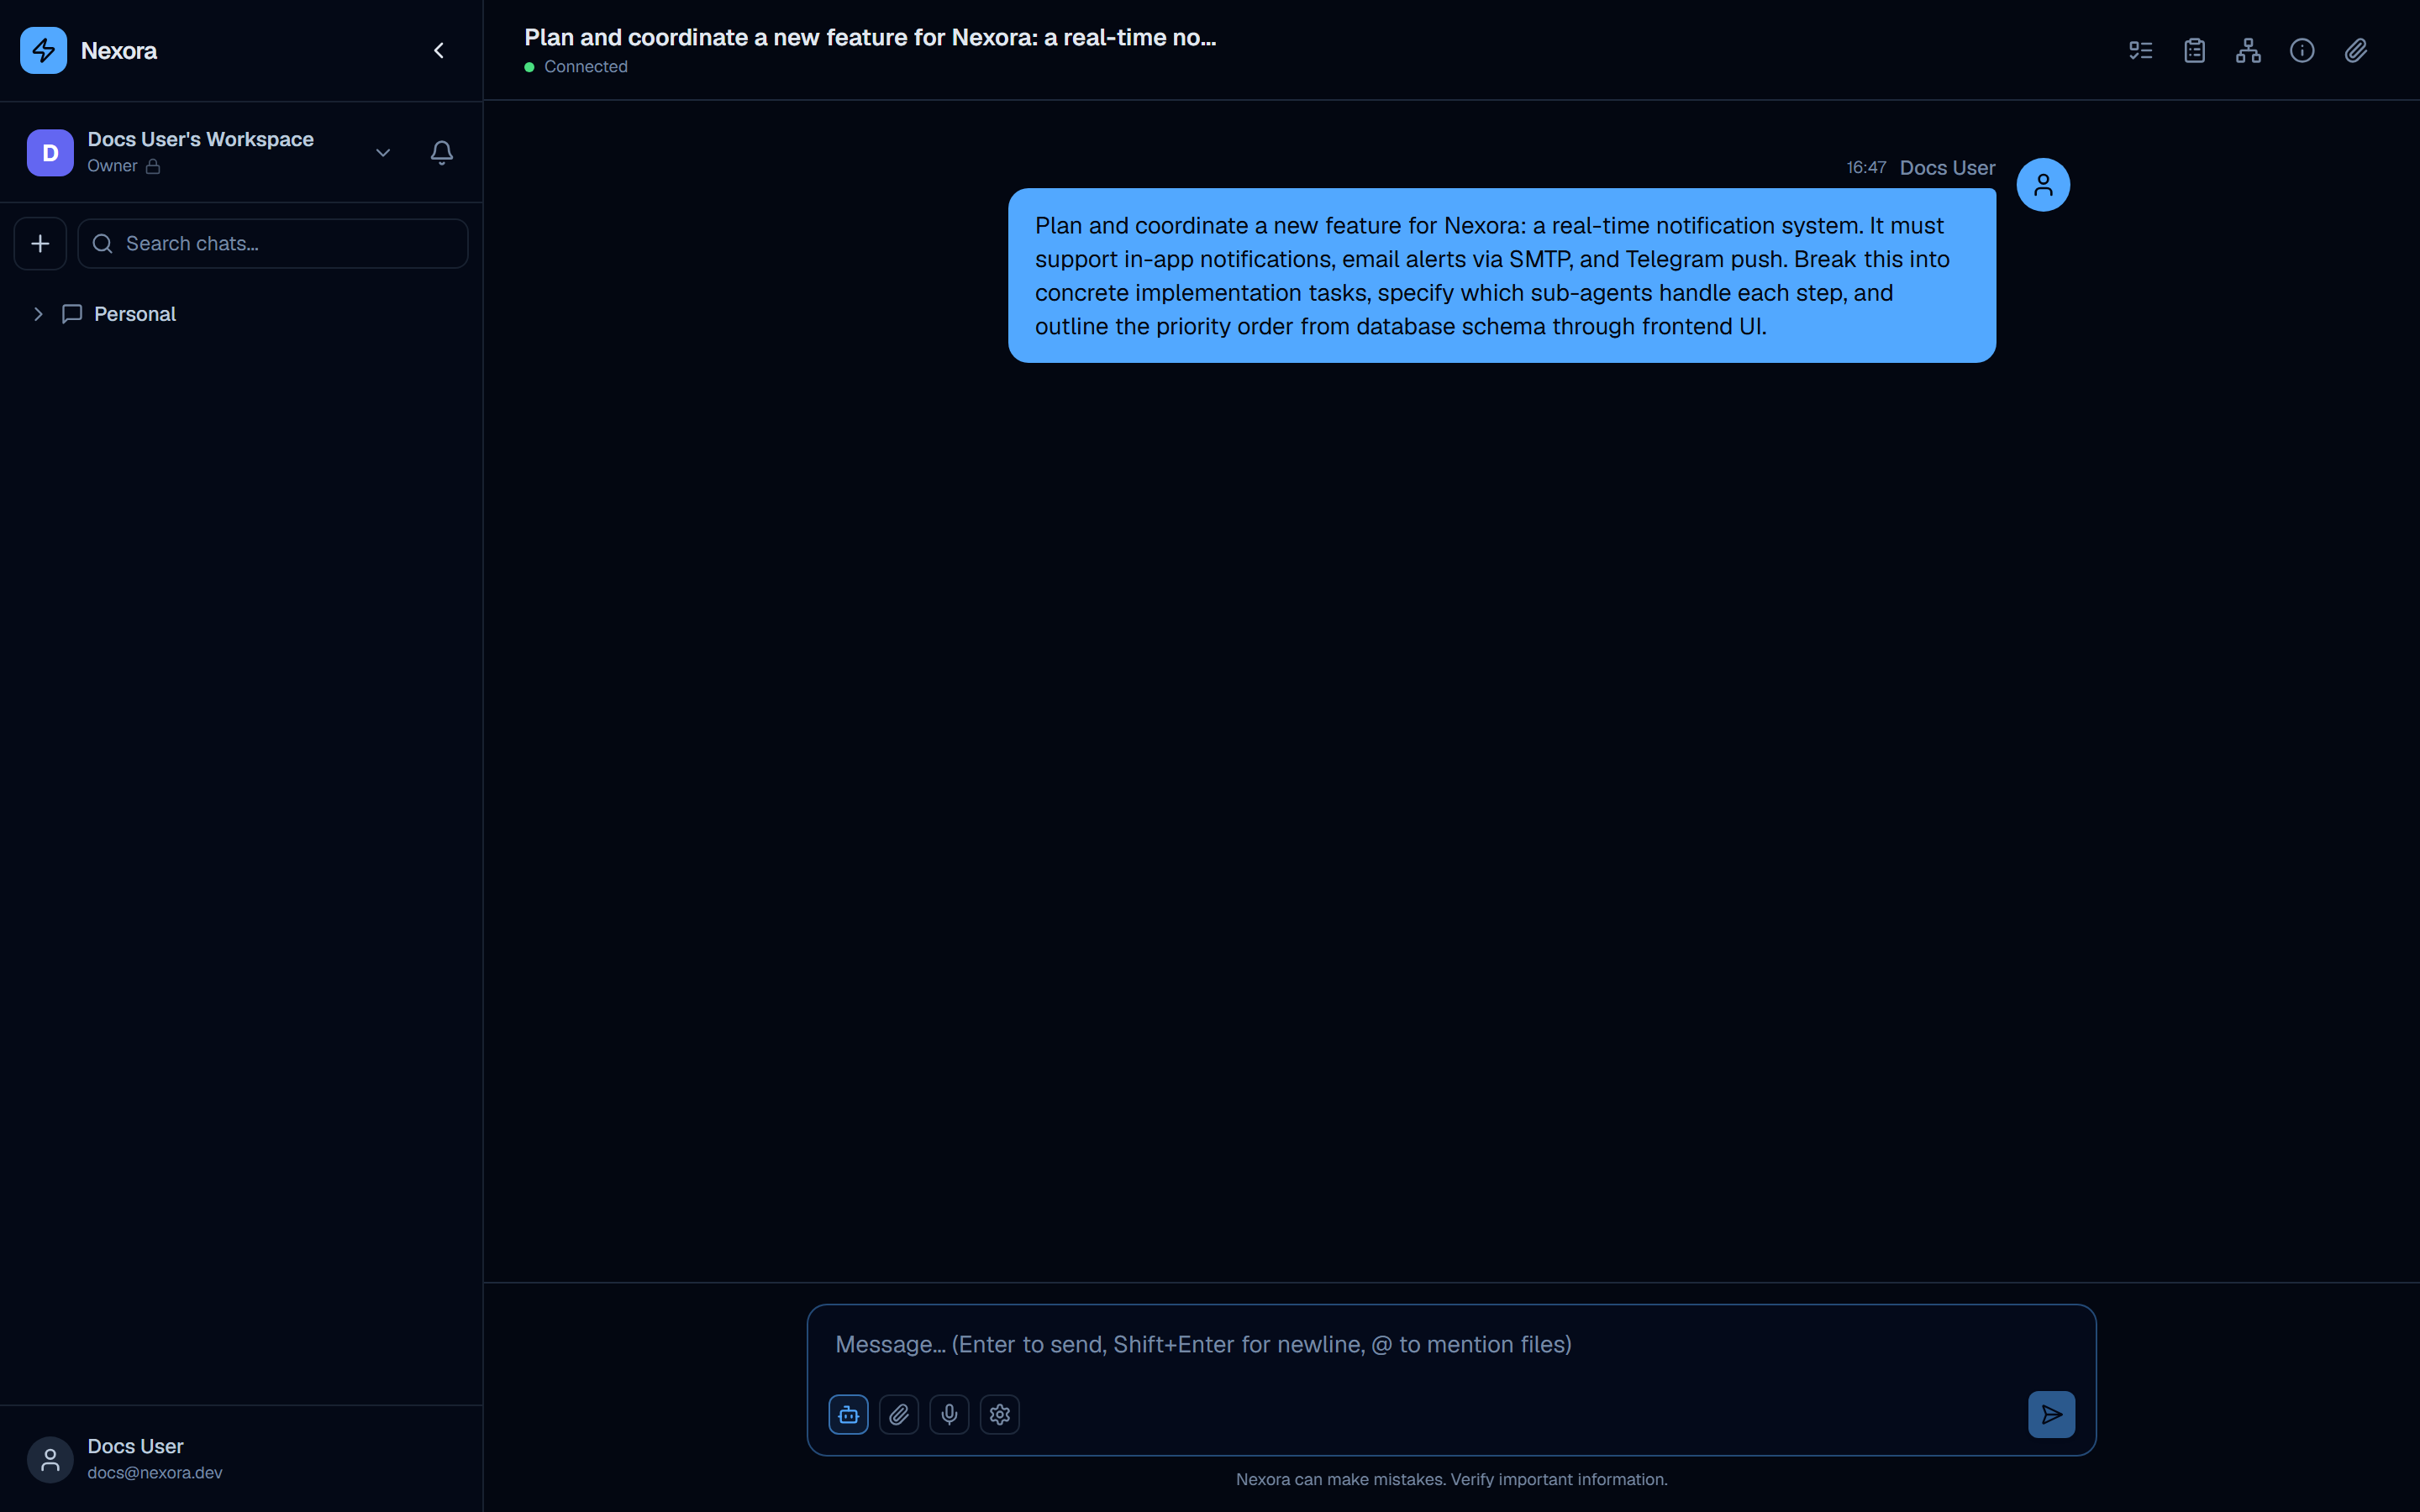
User messages
User messages are displayed right-aligned in a blue bubble. Above each message the timestamp and the user’s name are shown.
Agent messages
Agent messages are displayed left-aligned on a dark background card. The agent’s name and avatar appear above the message. Streaming messages update character-by-character as the LLM generates output.
Message actions
Hovering over any message (user or agent) reveals a row of action buttons:
| Button | Action |
|---|---|
| Exclude from AI context | Removes this message from the context window sent to the LLM on future turns, without deleting it from the display |
| Copy message | Copies the message text to the clipboard |
| Edit message | Opens an inline editor for the message content; re-submitting an edited user message regenerates the agent response from that point |
Input bar
The input bar is fixed at the bottom of the chat area.
Textarea
The main textarea accepts free-form text. Keyboard shortcuts:
| Shortcut | Action |
|---|---|
| Enter | Send message |
| Shift + Enter | Insert a newline |
| @ | Trigger file mention picker |
Left-side buttons
| Button | Icon | Description |
|---|---|---|
| Agent toggle | Robot icon | Enable or disable agent mode. When active the icon is blue; when disabled the agent is bypassed and the message is processed by the default model only |
| Attach files | Paperclip icon | Opens a file picker to attach files to the conversation |
| Voice input | Microphone icon | Record a voice message; speech is transcribed and inserted into the textarea |
| Chat settings | Gear icon | Opens the chat settings popup (see below) |
Right-side button
| Button | Icon | Description |
|---|---|---|
| Send | Arrow icon | Submits the message. Disabled (greyed out) until the textarea contains at least one character |
Footer
Below the input bar a small footer reads:
Nexora can make mistakes. Verify important information.
Chat settings popup
Clicking the gear icon in the input bar opens the chat settings popup directly above the input bar.

The popup contains four settings:
| Setting | Default | Description |
|---|---|---|
| Mode | Flash | Speed tier — controls the balance between response speed and depth. Options include Flash and other speed modes. |
| Agent | (last used or default) | Which agent responds to messages in this chat. Example: “Agent Architect”. Selecting a different agent immediately changes who responds to the next message. |
| Provider | Auto | Which AI account to use for this chat. “Auto” uses the first available account in your fallback chain. You can pin a specific account here. |
| Model | Default model | Override the model for this chat. “Default model” uses whatever model is configured on the selected provider account. |
Chat settings are per-conversation — changing the agent or model here affects only this chat, not other open chats or new chats.
Connection and reconnection
Nexora uses a persistent WebSocket connection for real-time streaming. If the connection drops, the status dot turns yellow and shows “Connecting…”. The client automatically reconnects using exponential backoff — you do not need to refresh the page.
If reconnection fails after several attempts, refresh the page to re-establish the connection manually.